Looking for a fun and easy way to add a festive touch to your March celebrations? These free printable St. Patrick's Day stickers are a cute, budget-friendly way to dress up treat bags, party favors, gift wrap, and more.
Whether you're putting together classroom goodies or adding a little extra Irish charm to homemade gifts or treat bags, these free printable stickers make it easy to bring a touch of festivity to almost anything. This set includes a fun mix of stickers with cute Happy St. Patrick’s Day designs, shamrocks, and classic Irish-inspired details.
These free St. Patrick's Day printables are quick, easy, and useful for all kinds of holiday projects. They're a great option when you want something festive without spending money on store-bought labels or embellishments.
What's Included in the Sticker Set
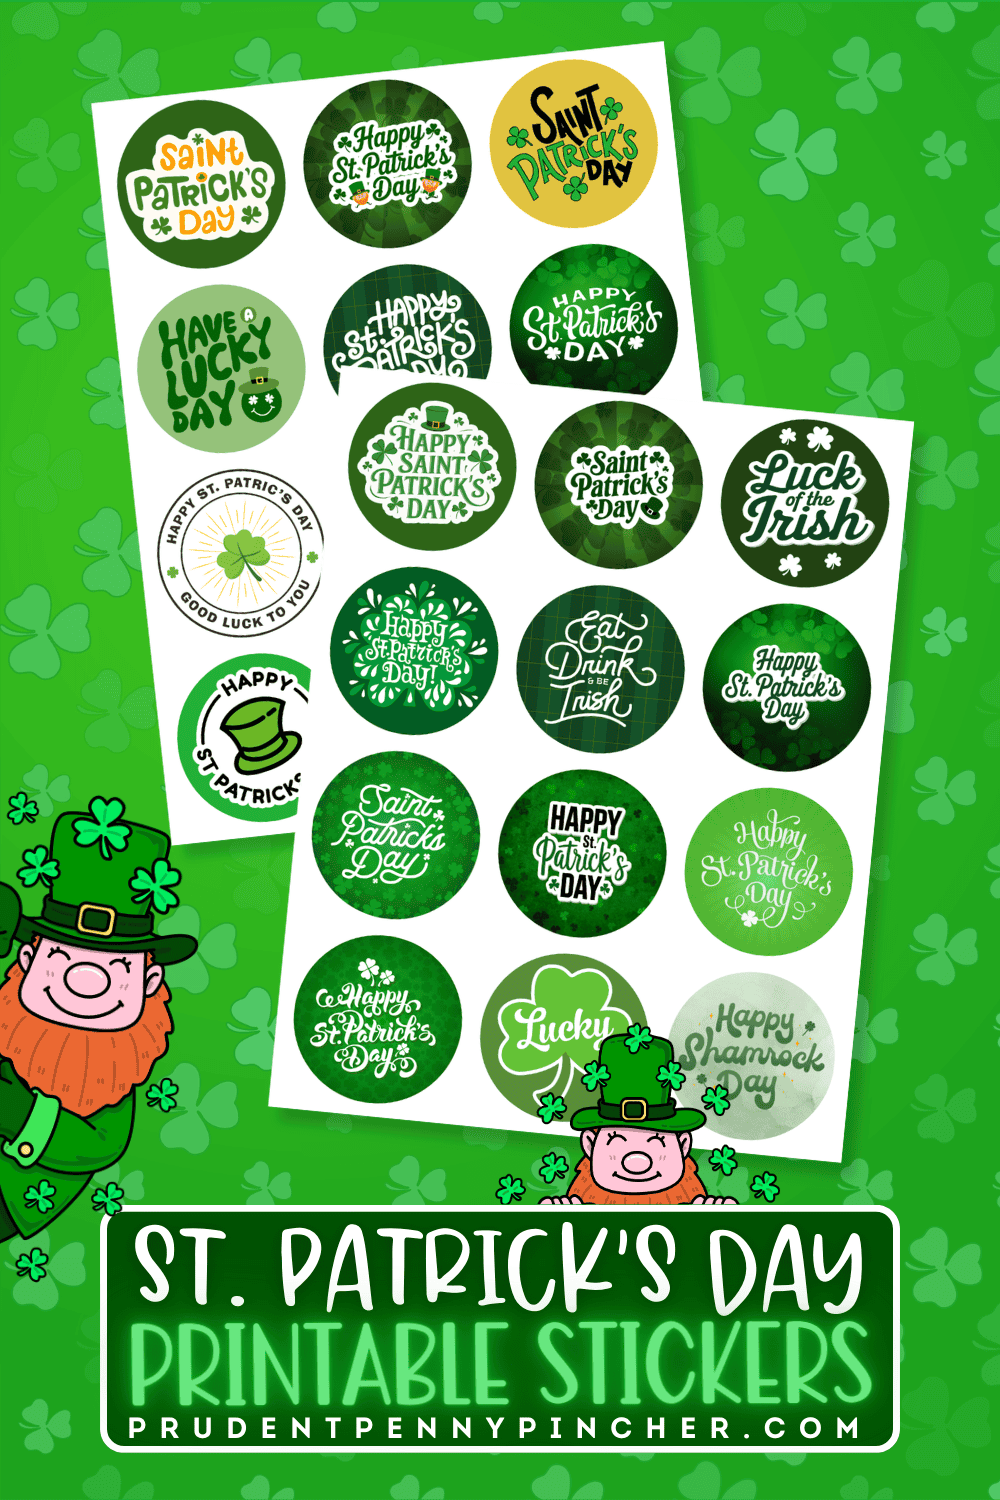
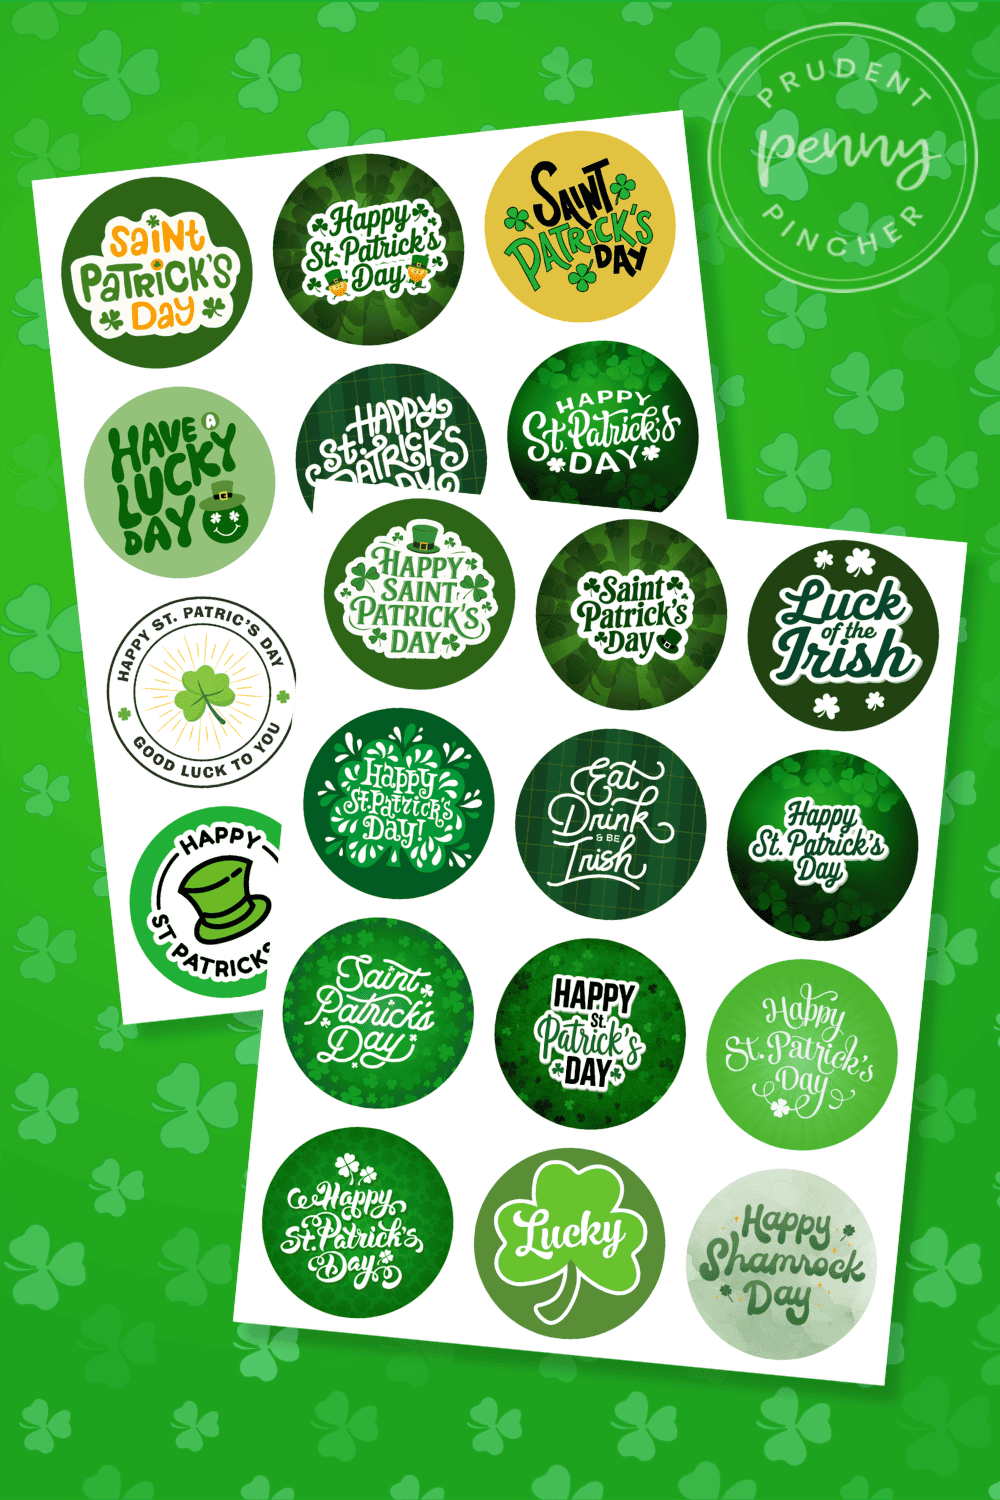
It includes a variety of round sticker designs with bright green tones, shamrocks, and festive St. Patrick's Day phrases. The collection offers a fun mix of classic and playful styles, making it suitable for both kids and adults.
- Each sticker is 2.5×2.5 inches(24 stickers in total)
- There are two different file formats available for the stickers:
- high-quality printable PDF
- individual transparent PNG files for Cricut’s Print then Cut feature.
Designs You'll Find
The set includes phrases and imagery like:
- Happy St. Patrick's Day
- Luck of the Irish
- Have a Lucky Day
- Happy Shamrock Day
- Eat, Drink & Be Irish
- Shamrocks and clovers
- Leprechaun hats
- Pot of gold artwork
- Cute St. Patrick's Day gnome
The variety makes it easy to mix and match them on gift bags, party favors, cards, and St. Patrick’s Day crafts.
Fun Ways to Use The St. Patrick’s Day Stickers
One of the best things about these free stickers is how many ways you can use them. They're not just for sticking on paper. They can instantly upgrade a number of items to make them more festive and put-together.
For Treat Bags and Party Favors
These stickers are perfect for sealing:
- Candy bags
- Popcorn bags
- Snack cups
- Classrooms parties
- Treat boxes/bags
If you're putting together a St. Paddy’s Day party or a little surprise for kids, adding a sticker is an easy finishing touch that makes everything look extra cute.
For Gifts and Packaging
Use them to decorate:
- Gift bags
- Wrapped presents
- Homemade treat containers
- Mason jar gifts
They're especially cute for homemade goodies like cookies, brownies, puppy chow, or green-themed snacks.
For Cards and Crafts
They also work well for:
- Envelope seals
- Scrapbook pages
- DIY cards
- Planner decorations
- St. Patrick's Day decor
- Kids' art projects
You can even use them as embellishments on printable tags, party invitations, or lunchbox notes for a fun surprise.
How to Print Them
Printing your stickers at home is simple. For the best results, use good-quality sticker paper and your printer's highest print setting.
Best Supplies to Use
For clean, vibrant results, you'll want:
- Printable sticker paper
- An inkjet printer
- Scissors or a circle punch (2.5 inches)
- A paper trimmer (optional)
Matte sticker paper gives a more muted finish, while glossy sticker paper adds vibrancy and makes the colors pop a little more. I personally would recommend Glossy pages for these.
If you want to make smaller stickers, you can always adjust the size using scaling/page sizing options in Adobe.
- 80% for 2-inch stickers
- 60% for 1.5 inch
- 50% for 1.25-inch
Printing Tips for the Best Results
To make your stickers look their best:
- Print using high-quality settings
- Make sure your paper is loaded properly, and if you’re using glossy sticker paper, double-check that the printable glossy side is facing the correct direction before you print.
- Let the ink dry before cutting
- Use a circle punch for cleaner edges and faster results
Can You Use These with a Cricut?
If you're only planning to use a few, hand-cutting works perfectly fine. If you're making a lot, using a Cricut machine can definitely save time. It will also give professional-looking cuts without doing everything by hand or using a circle punch.
Below is a zip file containing individual PNG files of each sticker to upload into Cricut Design Space. This will allow you to resize them easily and convert them to stickers in Design Space.
How to Make St. Patrick's Day Stickers with Cricut Design Space
- Open Cricut Design Space and start a new project.
- Click Upload in the left-hand sidebar.
- Select Upload Image, then choose your PNG file.
- When prompted, select Flat Graphic, then click Upload to place it on your Canvas.
- Once your sticker is on the Canvas, check the Layers panel to make sure it is set to Print Then Cut.
- Resize the sticker to your preferred dimensions.
- Click Edit, then select Convert to Sticker.
- Choose your sticker style:
- Kiss Cut if you want the sticker to stay on the backing sheet
- Die Cut if you want each sticker cut out individually
- Select your preferred border thickness.
- Choose your sticker style:
- Click Make It when you're ready to continue.
- Review the layout on the next screen to make sure everything fits properly.
- Print your sticker sheet.
- For the best results, use matte or non-reflective sticker paper, since glossy or shiny materials can sometimes make it harder for Cricut to read the sensor marks.
- Place the printed sticker sheet on a LightGrip mat and smooth it down to lie flat.
- Load the mat into your machine, let your Cricut scan the registration marks, and cut out your stickers.
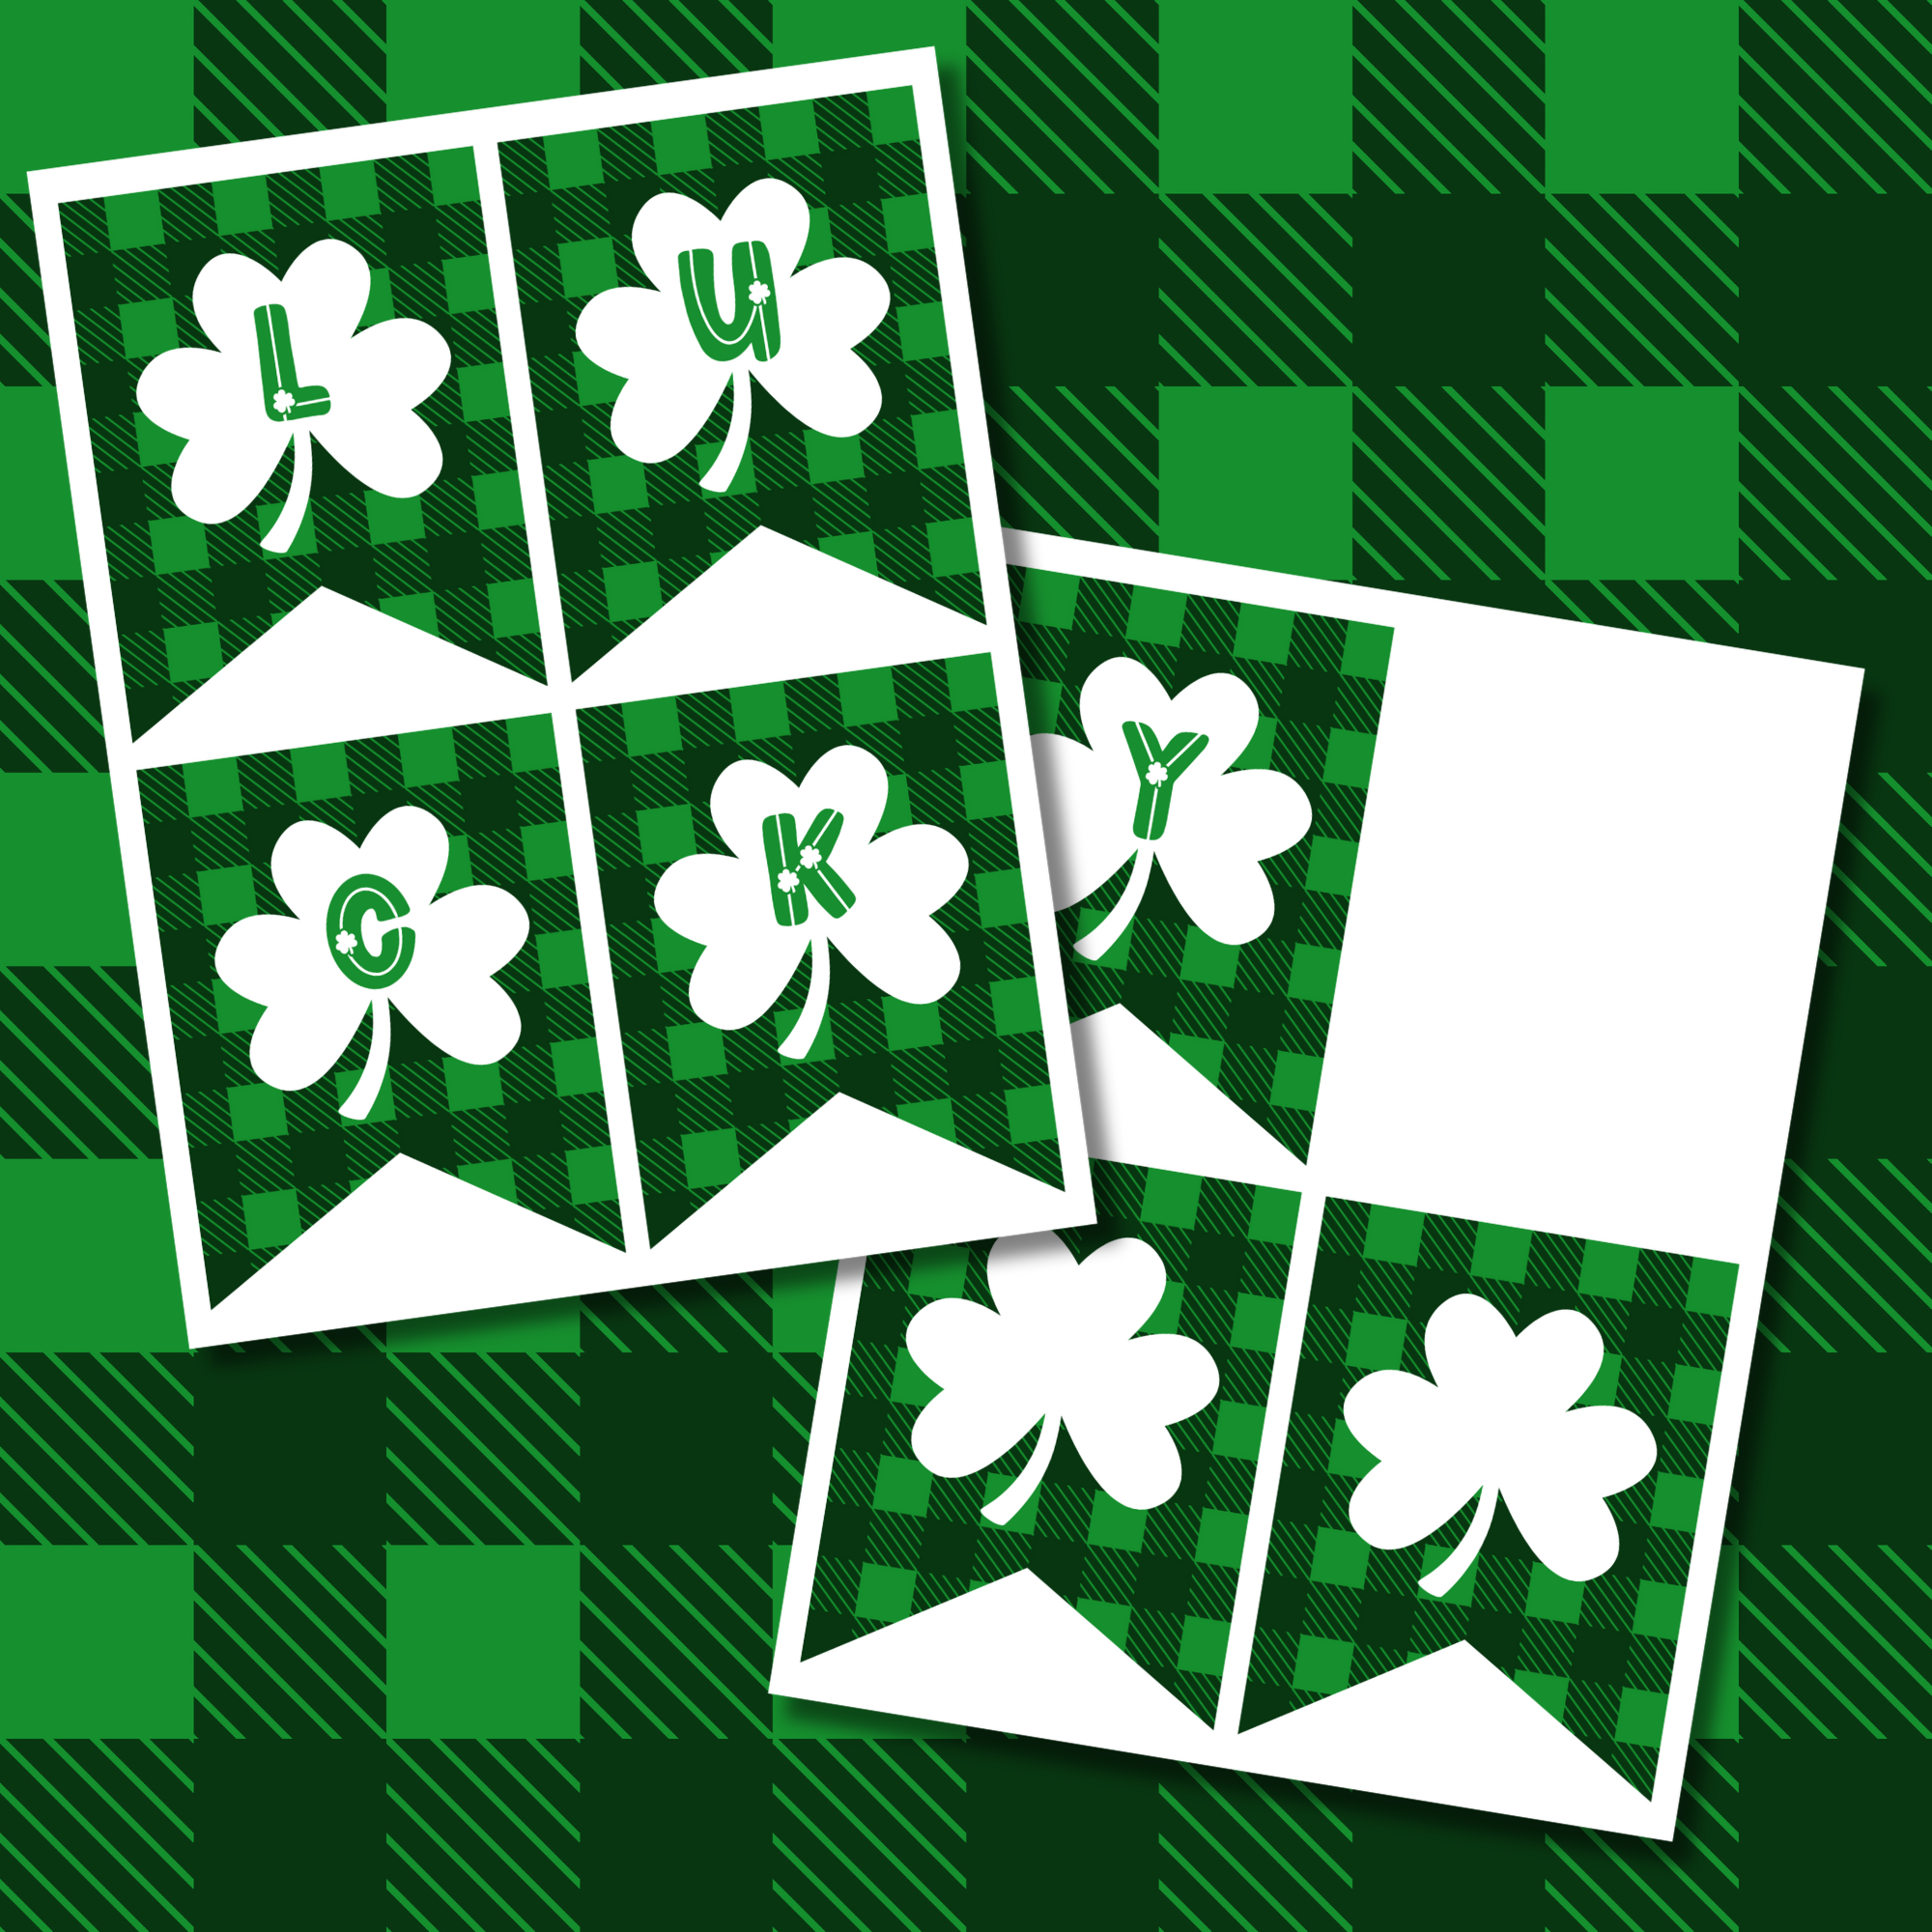
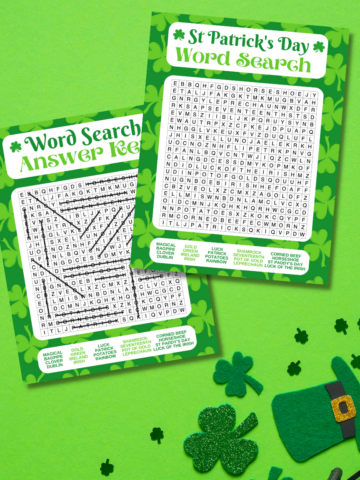
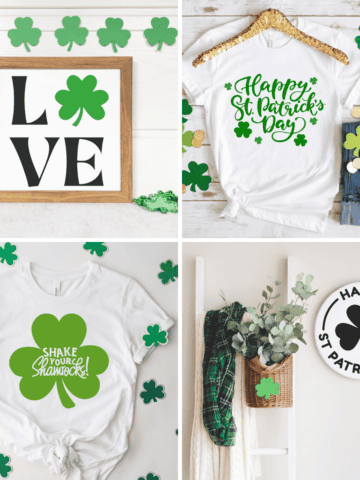
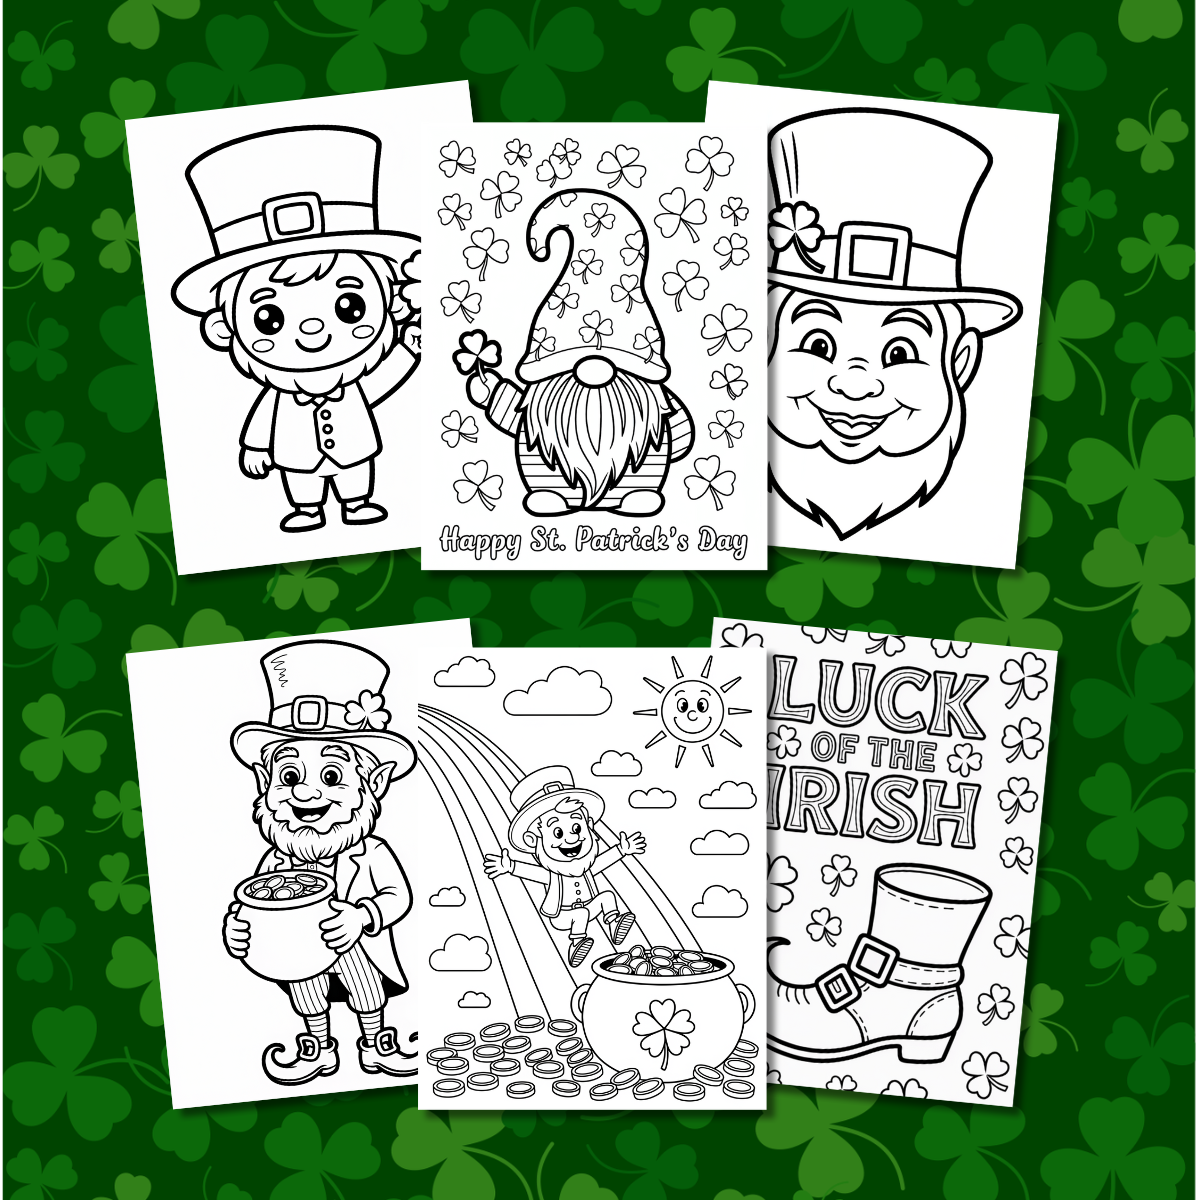
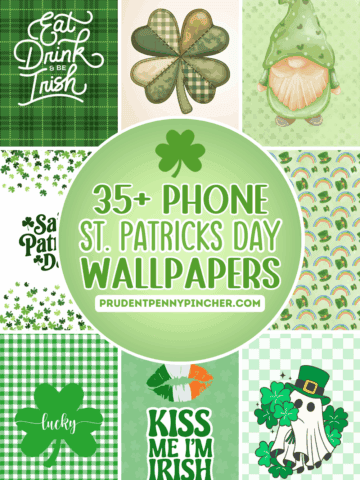
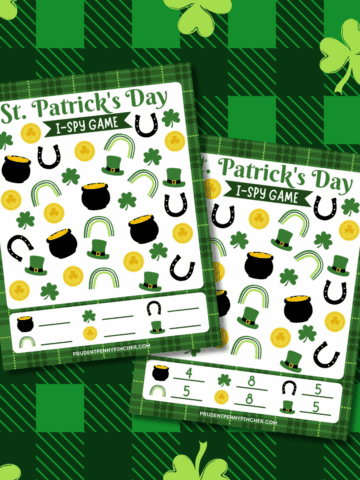
More St Patrick’s Day Printables


Follow me on Pinterest, Facebook, Flipboard, or Instagram for more inspiration on crafts, DIY, free printables, and recipes!

Leave a Reply