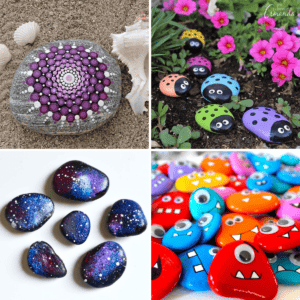
From detailed mandala designs to easy ideas for kids, there are plenty of painted rocks for inspiration.
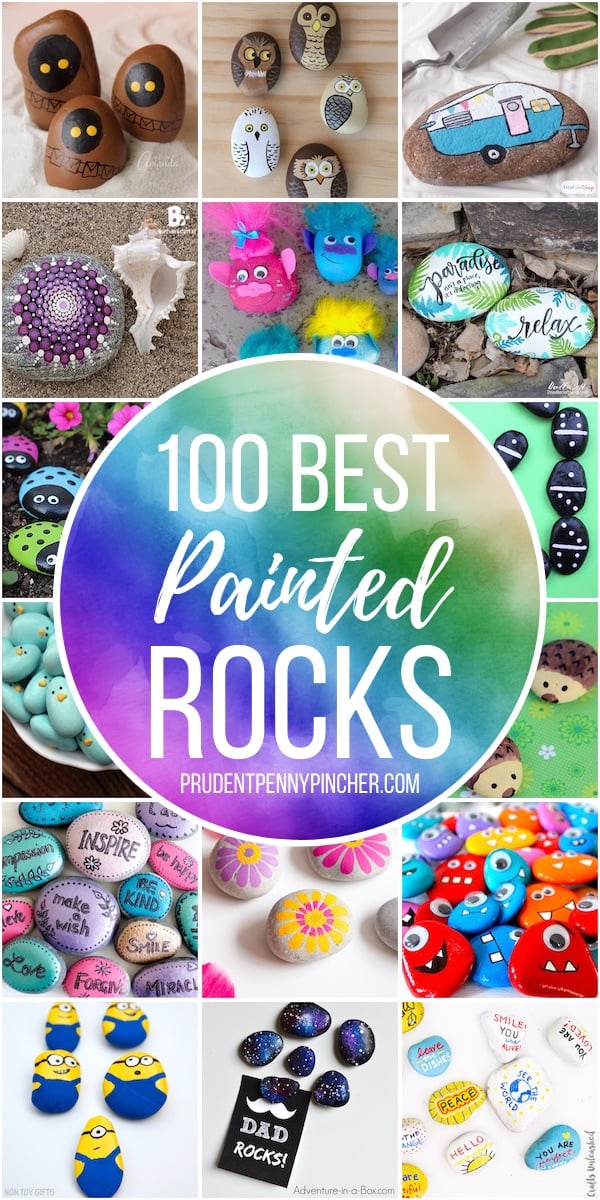
The rock painting phenomenon is a fun and cheap family-friendly activity. It’s a great way to keep the kids entertained over summer break or after school.
From simple designs for beginners and kids to intricate artwork that challenges more advanced painters, there are painting ideas for every skill level and occasion. Whether you are looking for mandala stones, cartoon characters, kindness rocks, or festive holiday decorating ideas, there are plenty of designs to choose from.
This is a comprehensive guide that includes an introduction, a getting started overview, what supplies are needed, and a step-by-step tutorial before moving on to an array of dazzling designs.
Painted rocks are more than just a fun summer craft; they’re a global movement that spreads joy, creativity, and a message of kindness.
What is it about?
This phenomenon is about spreading happiness and a sense of community through creating and sharing these small, hand-painted stones. It is a global trend, with people of all ages and backgrounds joining.
It’s a blend of artistic expression and outdoor fun. You get to take something ordinary (a simple stone) and make it into something extraordinary. It’s basically a modern-day treasure hunt. Hiding and finding these rocks in public places adds an element of surprise and fun to everyday life.
Whether you’re an artist seeking a new medium, a parent looking for a kid-friendly activity, or simply someone wanting to spread happiness, this activity offers a fun and creative way to express yourself and be a part of a bigger community.
One of the most remarkable aspects of this movement is its ability to bring people together. Facebook groups and local groups dedicated to rock painting connect individuals, allowing them to share their creations, exchange tips, and organize rock-hunting events.
How to Participate?
If you find a painted rock, you can keep it and create a new one to leave in its place, continuing the cycle. Alternatively, you can re-hide the rock you found in a new location for someone else to discover.
Many rocks have the name of a community group or a Facebook page written on the back, which allows finders to connect with the creators and the community online.
When you leave one, be sure to take a picture of your rock’s hiding spot and share it on the group’s Facebook page! Don’t forget to place the rock in a location where it’s likely to be discovered – after all, the joy of this movement is in finding these hidden gems.
Supplies Needed
- Flat, smooth rocks – You can find them for free in your backyard, at a local park, or on Craigslist/OfferUp. Alternatively, you can purchase them from the dollar store or craft store. You can buy river rocks at Dollar Tree for $1.25.
- Acrylic paint – Outdoor and multi-surface acrylic paint is the best choice for its durability and vibrant colors.
- Paint markers – I highly recommend these POSCA paint pens!
- Paint brushes – Various sizes and shapes of brushes will help you achieve different effects on your stones.
- Outdoor Modge Podge Sealant – A clear spray sealer or a brush-on outdoor Mod Podge will protect your stones from weather and wear, keeping the colors bright and beautiful.
Tutorial
Prepping the stones
Choosing the Perfect Rocks: If you are looking for stones out in nature, look for flat, smooth surfaces to make it easier to paint. You can use 150-grit sandpaper to smooth small bumps. For those feeling more adventurous, uniquely shaped rocks can inspire creative and intricate artwork.
Cleaning: Wash your rocks with soap and water to remove dirt and grime. A clean surface ensures that the paint adheres well and lasts longer.
Priming: Though not necessary and depending on the design you choose, applying a white acrylic primer can enhance the vibrancy of your colors, especially on darker stones. Allow the primer to dry completely before you start painting.
Sealing: Seal the stone before painting on it so that its porousness doesn’t absorb too much of your paint or markers. When you finish your design, seal the stones again to protect them from weather and wear.
Painting the rocks
Painting: For the best results, use several coats of paint and let it dry between layers and coats to avoid smudging and achieve crisp lines. Applying a hairdryer on a low setting can speed up the drying process without causing the paint to crack.
Experiment with Tools and Techniques: Beyond brushes, explore different tools like sponges, dotting tools, or even toothpicks to create various textures and effects. Techniques like blending, layering, or stippling can add depth and detail to your designs.
Keep a Practice Rock Handy: If you’re trying a new technique, you can test it on a practice rock. Doing this helps you refine your skills without having to worry about getting it right the first time.
If You Mess Up, you can wipe it off or wash it away while the paint is still wet. You can dab a corner of a paper towel in water and do it quickly and easily. Also, remember that part of the charm is imperfections, so embrace each stone’s unique quirks!
Don’t Forget to Share Them! Join a local or online community to share your creations, get inspired by others, and maybe even participate in a rock-hunting event.
For a more detailed, step-by-step tutorial, please see the how-to card located at the bottom of the page.
Now that you have an overview of this phenomenon, let’s look at these 100 creative ideas that will rock your world and give you plenty of inspiration.
Animal Designs

Painted Owls from Frugal Fun 4 Boys
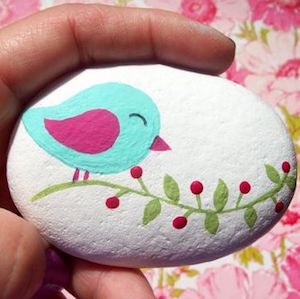
Bird and Branch (source unknown)
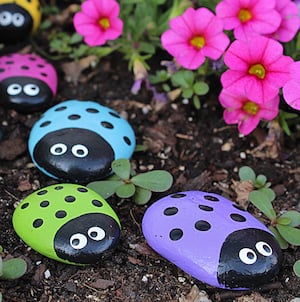
Ladybugs from Crafts by Amanda

Painted Hedgehogs from Easy Peasy Fun
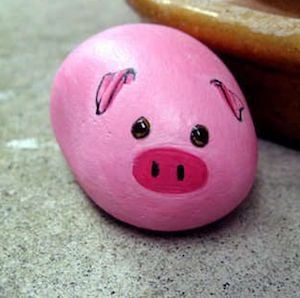
Cute Pig from 10 Marifet
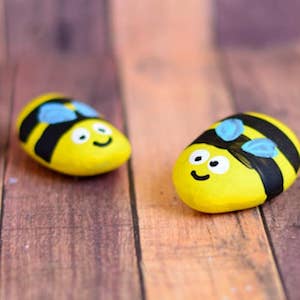
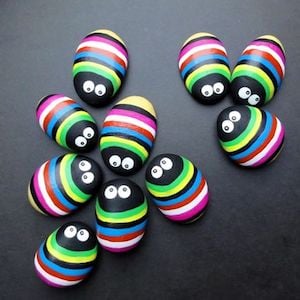
Bee Rocks from Easy Peasy and Fun
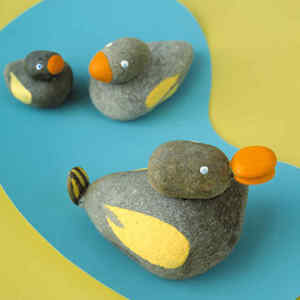
Duck Craft from Martha Stewart
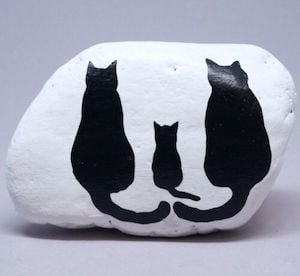
Black Cats from eBay
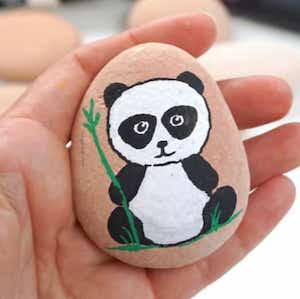
Panda Stone from Rock Painting 101
Cute Bugs from avocadoughtoast.com
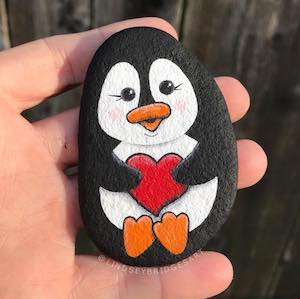
Penguin from Lindsey Bridges Art
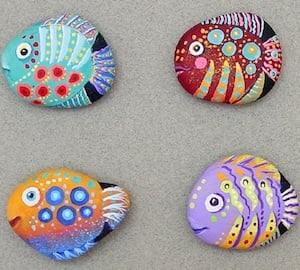
Colorful Fish Magnets from artalika.com

Hatching Chick from Robin Bailey (via Pinterest)
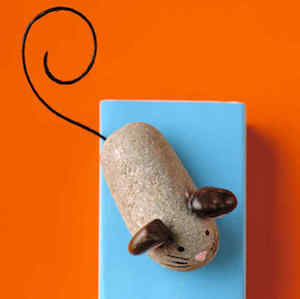
Mouse Stone from Martha Stewart
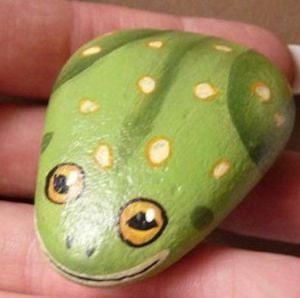
Frog from Pinterest
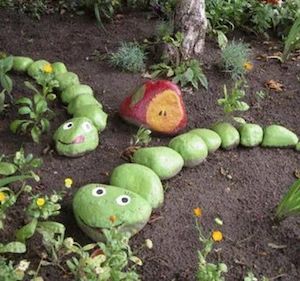
Caterpillar from Kitchen Fun with My 3 Sons
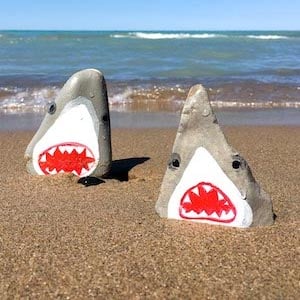
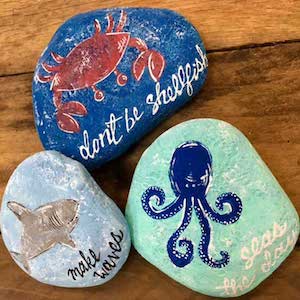
Painted Sharks from Sustain My Craft Habit
Shapes & Design Ideas
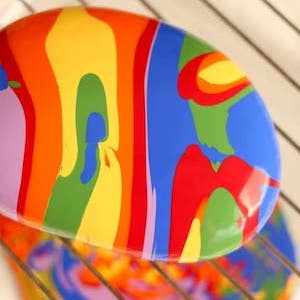
Rainbow Rocks from Kiwi Co.
Fine Detailed Stones from Funnel Cloud
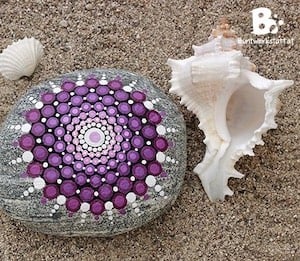
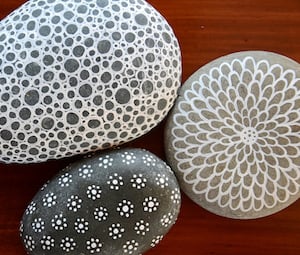
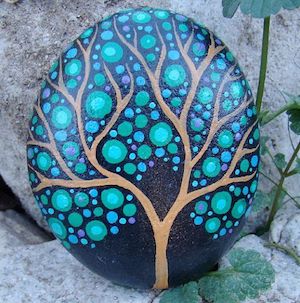
Mandala Stone from Colorful Crafts
Pour Paint Beach Stones from Happy Hooligans
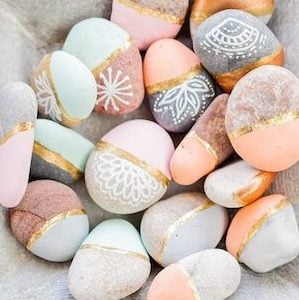
Chic Rocks from Frieda Theres
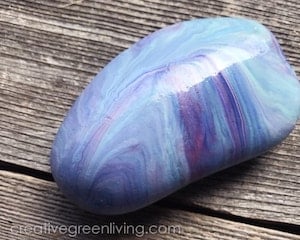
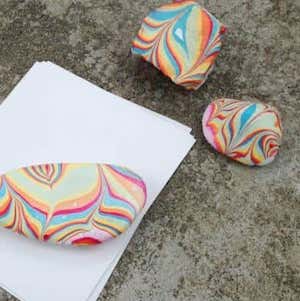
Marbled Rocks from Creative Green Living
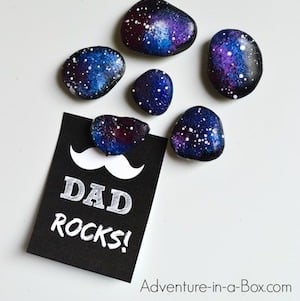
Galaxy Rocks from Adventures in a Box
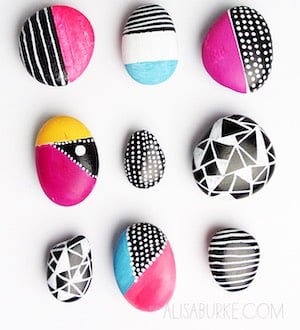
Geometric Rocks from Alisa Burke

Puffy Paint Stones from I Love to Create
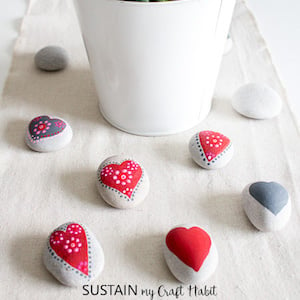
Mandala Hearts from Sustain My Craft Habit
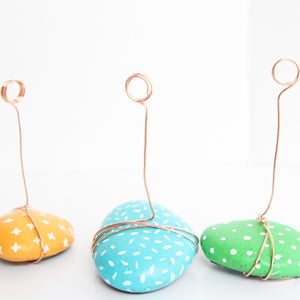
Photo Holder from One Little Project

Rock Dominoes from Repeat Crafter Me
Nature, Plants & Landscapes
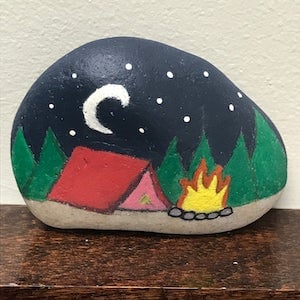
Camping Rock from Etsy
Cactus Yard Art (video tutorial) from Wonderful DIY
Beach Themed Stones from Plaid Online
Branching Tree from Etsy (this item is no longer available)
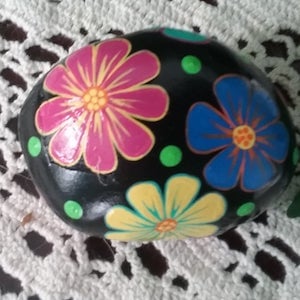
Colorful Floral Rock from Etsy
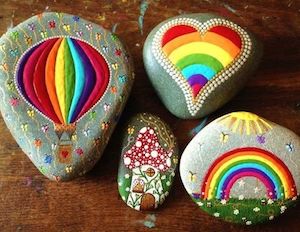
Rainbow, Balloon and Heart Stones from SoFire Creations (via Facebook)
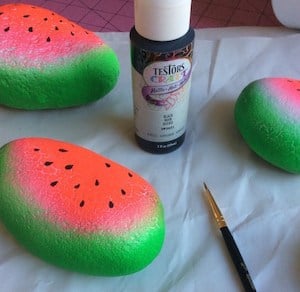
Watermelon Rocks from Testors
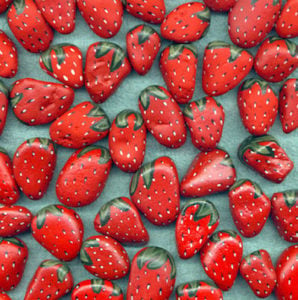
Strawberries from Image Events
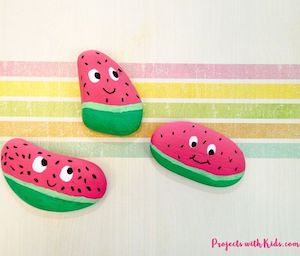
Watermelon Rocks from Projects with Kids
Garden Markers from Adventures in a Box
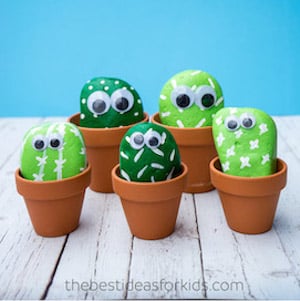
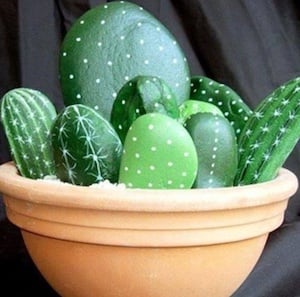
Pet Cactus from The Best Ideas for Kids
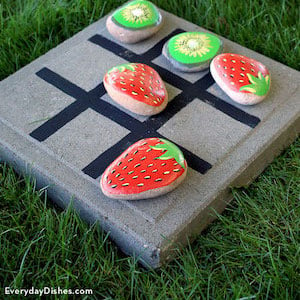
Fruit Tic Tac Toe from Everyday Dishes
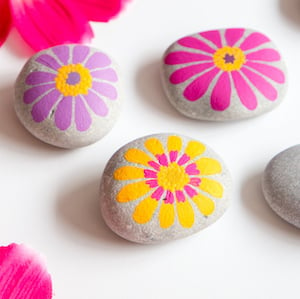
Flower Rocks from Sustain My Craft Habit
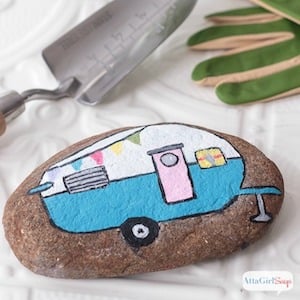
Vintage Camper from Atta Girl Says
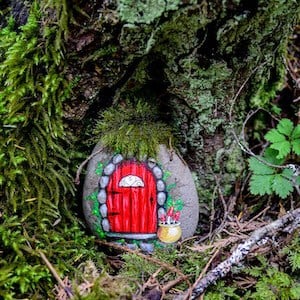
Fairy Door from Adventure in a Box
This one would make a great addition to your fairy garden!
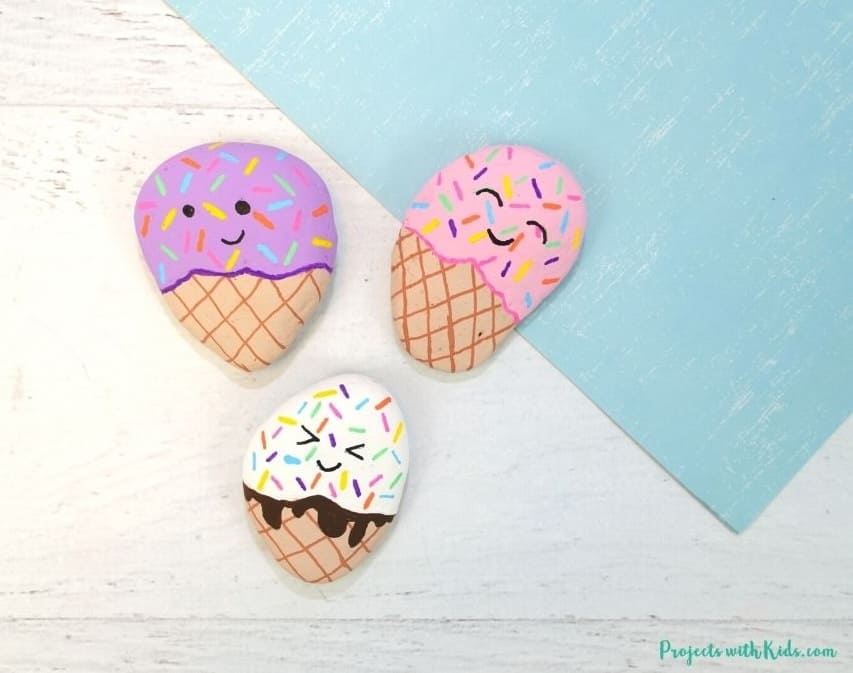
Ice Cream Rocks from Projects with Kids
Holidays / Seasonal Rock Painting Ideas
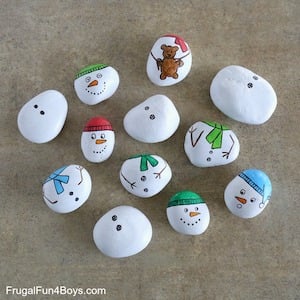
Snowmen from Frugal Fun for Boys and Girls
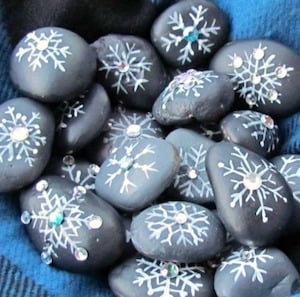
Snowflake Stones from Suzy Sit-Com
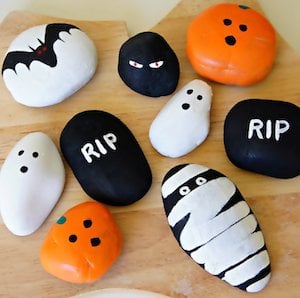
Halloween Rocks from Bebe and Bear
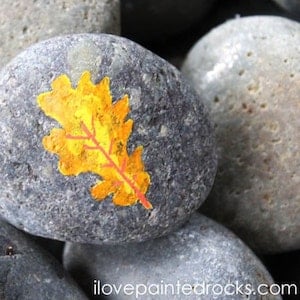
Fall Leaves Stone from I Love Painted Rocks

Patriotic Pebble from Stagetecture.com

Valentine’s Day Stones from Red Ted Art
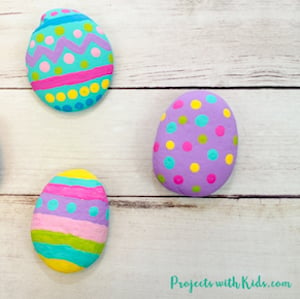
Painted Easter Eggs from Projects with Kids
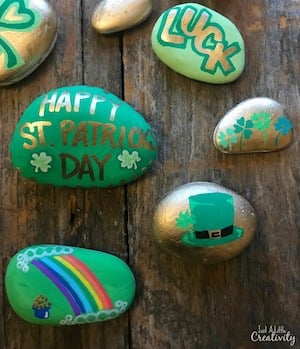
St Patrick’s Day Rocks from Just a Little Creativity
Character Rocks
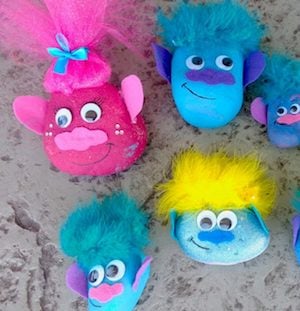
Trolls from The Keeper of the Cheerios

Painted Minions from Non Toy Gifts

Emojis from Cara Dura Designs
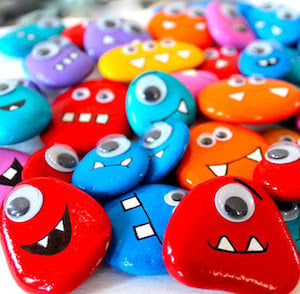
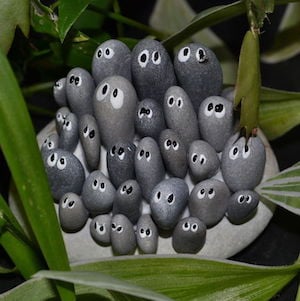
Googly-Eyed Monsters from Makoodle
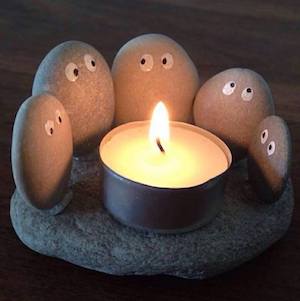
Huddled Around Fire from Kitchen Fun with My 3 Sons
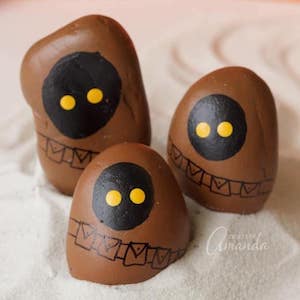
Star Wars Jawa from Crafts by Amanda
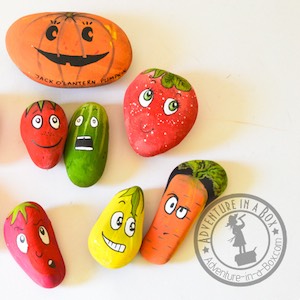
Garden Thing from Instructables
Quote & Phrases
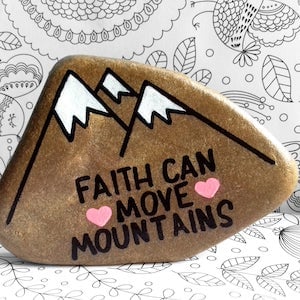
Faith Can Move Mountains from Etsy
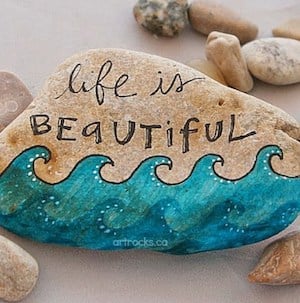
Life is Beautiful Waves from ArtRocks
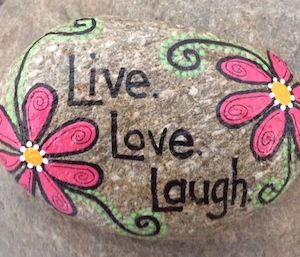
Live Love Laugh from Etsy

Kindness Words from Dabbles and Babbles

Colorful Courage Stone from avocadoughtoast.com

Rainbow Love Rock from Etsy
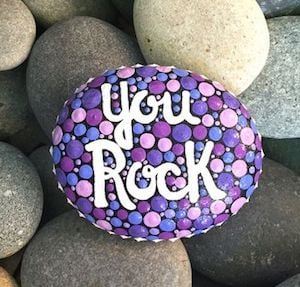
You Rock from Etsy

Rainbow Quote from Rene Angelou (via Pinterest)
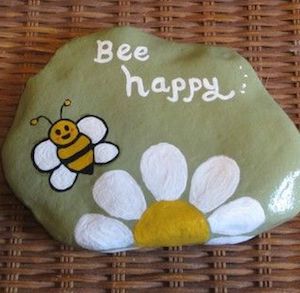
Be Happy from Connie (via Pinterest)
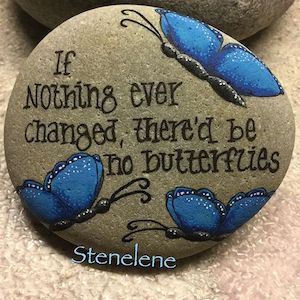
Change Pebble from Stenelene (via Instagram)
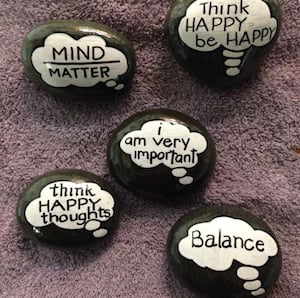
Thought Bubbles from Cindy Mohrbach (via Pinterest)

Believe Rock from Heart Made Stone Art (via Instagram)
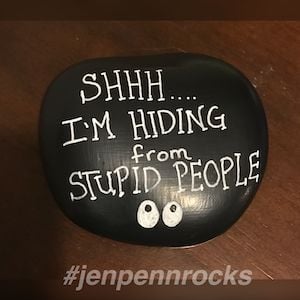
Stupid People Quote from Jennifer Penn (via Pinterest)
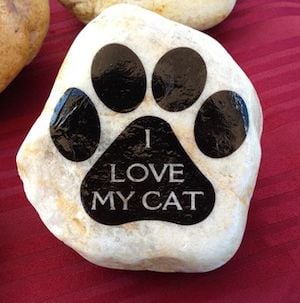
I Love My Cat Paw Print from Creations by Pam (via Facebook)

Life is Short from Jack & Mom Zsg (via Instagram)

Feel Good Rocks from Plaid Online
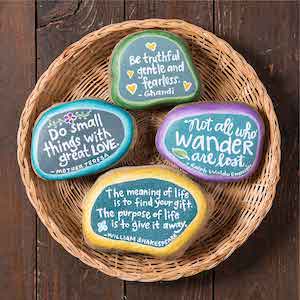
Various Quote Rocks from Plaid Online
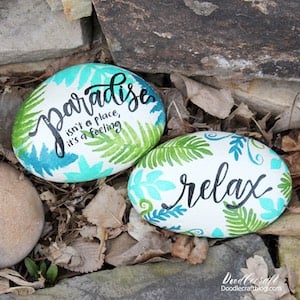
Tropical Paradise from Doodle Craft

Garden Markers from Crafts by Amanda
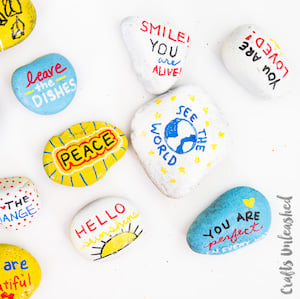
Kindness Rocks from Crafts Unleashed

Watercolor Heart from Color Made Happy
How to Paint Rocks
Equipment
- Paint brushes in various sizes
Materials
- Outdoor Sealant To protect your rock from the elements. You can use either a clear spray sealant or a brush-on outdoor Mod-Podge.
- Paint pens or markers
- Acrylic paint Be sure to use outdoor paint for added durability
- Flat, smooth rocks
Instructions
- Find or buy flat stones with smooth surfaces for easier painting.
- Wash your rocks thoroughly with soap and water to remove dirt or grime. Let them dry.
- Seal the stone with sealant before you start painting to prevent the porous surface from absorbing too much paint.
- Apply a white acrylic primer to enhance the vibrancy of your colors, especially effective on darker stones. Allow the primer to dry completely. Depending on the color of your stone and the design you choose, you can opt to skip this step.
- Begin painting your design. Apply several coats of paint, allowing each layer to dry completely to avoid smudging and achieve crisp lines. You can use a hairdryer on a low setting to expedite drying without causing the paint to crack.
- Feel free to explore different painting techniques beyond brushes—use sponges, dotting tools, or toothpicks to add different textures and effects. Experiment with blending, layering, or stippling techniques to add depth and detail to your designs.
- If you make a mistake, quickly wipe or wash off the paint while it's still wet using a damp paper towel.
- After painting, apply a few more sealant layers to protect your design against the weather and to keep your colors from fading. Be sure to let your stone dry after each layer of sealant.
More Summer Crafts and Activities
- 100 Cheap and Easy Summer Activities for Kids
- 100 DIY Backyard Games for Kids and Adults
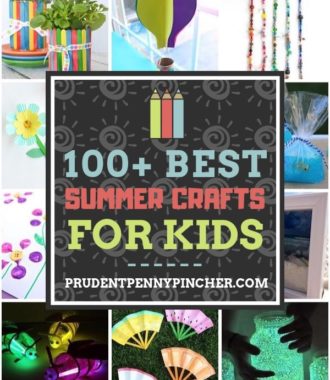
- 100 Best Summer Crafts for Kids
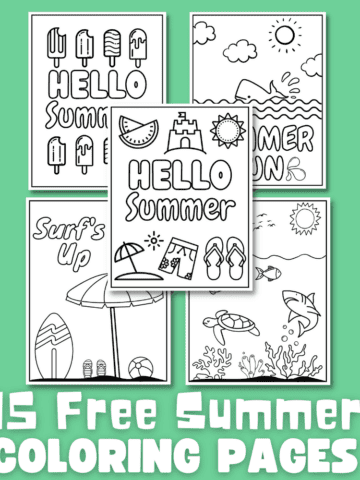
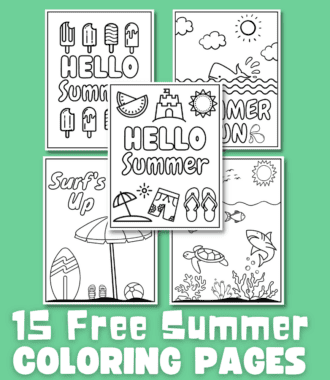
- 30 Free Summer Coloring Pages for Kids
Follow me on Pinterest, Facebook, or Instagram for more inspiration on crafts, DIY, free printables, and recipes!


Rocky Slate says
This guide rocked my world. You’d have to be a stone cold idiot to not enjoy it.
Coleen Balch says
Hah! You’re boulder than I.