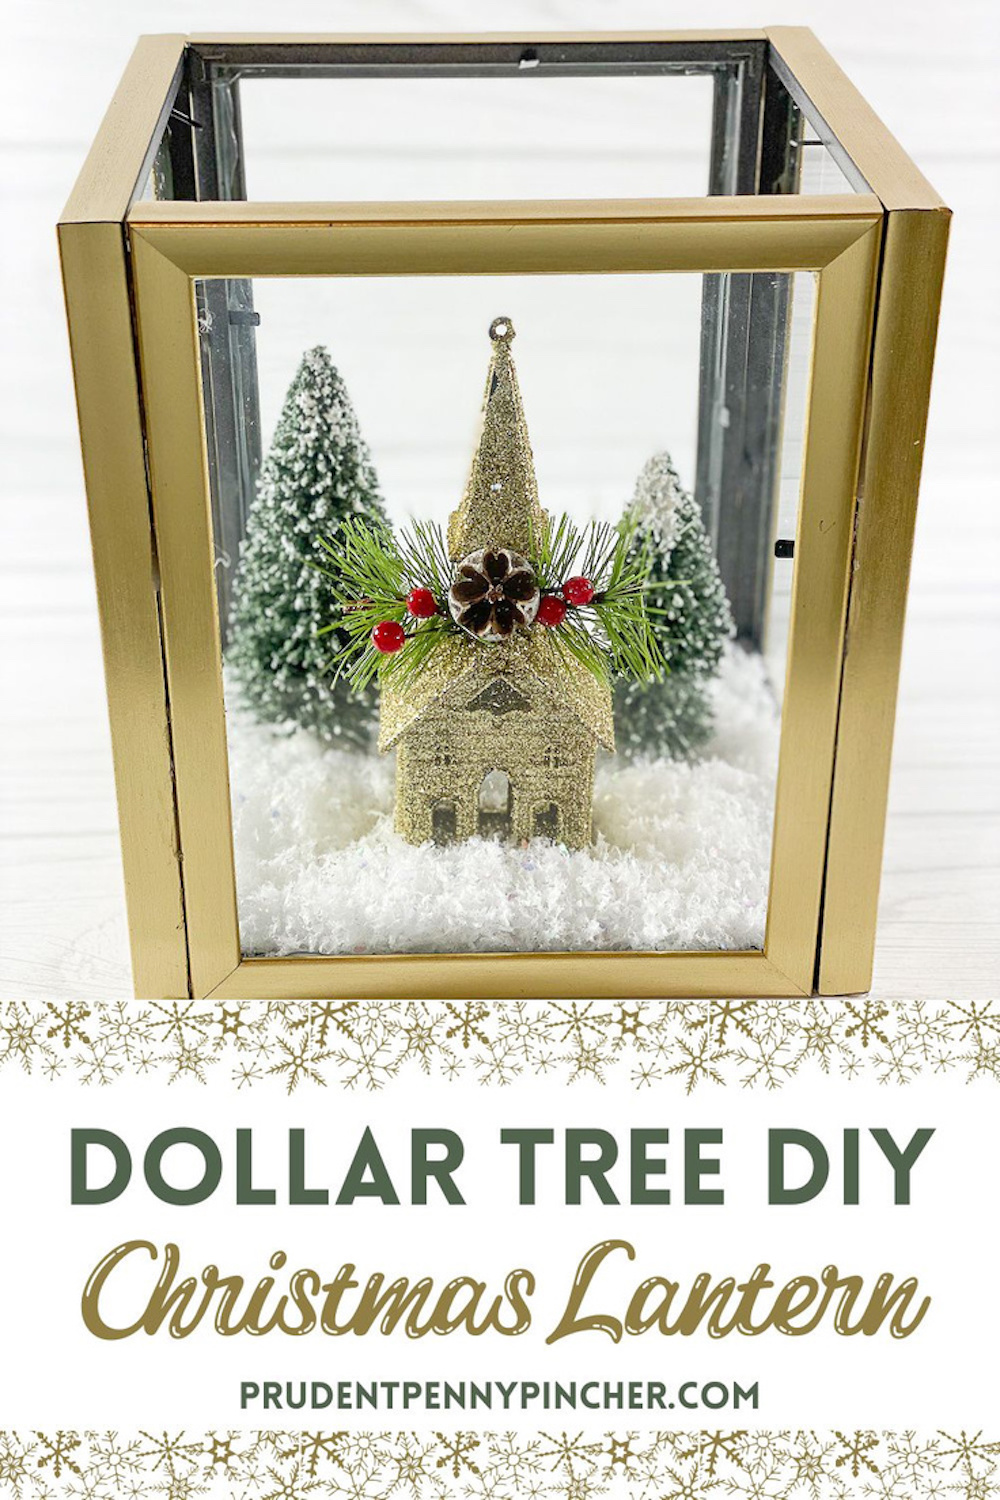
Make this DIY Dollar Store Christmas Lantern without breaking the bank. For less than ten dollars and fifteen minutes of your time, you can create this cheap and easy Christmas decoration that is perfect as a Christmas centerpiece or a Christmas craft project.
Supplies for DIY Dollar Store Christmas Lantern:
- hot glue gun and glue sticks
- epsom salt or faux snow
- 4 picture frames
- white foam board
- pencil
- craft knife or scissors
- Christmas village figurines and/or Christmas ornaments
Total Cost: $8
Time: 15 minutes
Difficulty Level: Easy
Instructions for DIY Dollar Store Christmas Lantern:
- Remove the plastic, frame back and picture inserts from the picture frames.
- If you don’t want the little tabs to show, you can pull them back and glue the glass to the frame or if it doesn’t bother you, then you can just put the tabs back down to hold the glass in place.
- Glue the corners of the picture frames together. Hold together firmly until each frame dries (about a minute). Be generous with the glue because you want it to hold up well.
- Using a pencil, trace the outline of the box onto the foam board.
- Cut out the outline, erase pencil markings and glue the foam board to the bottom of the box.
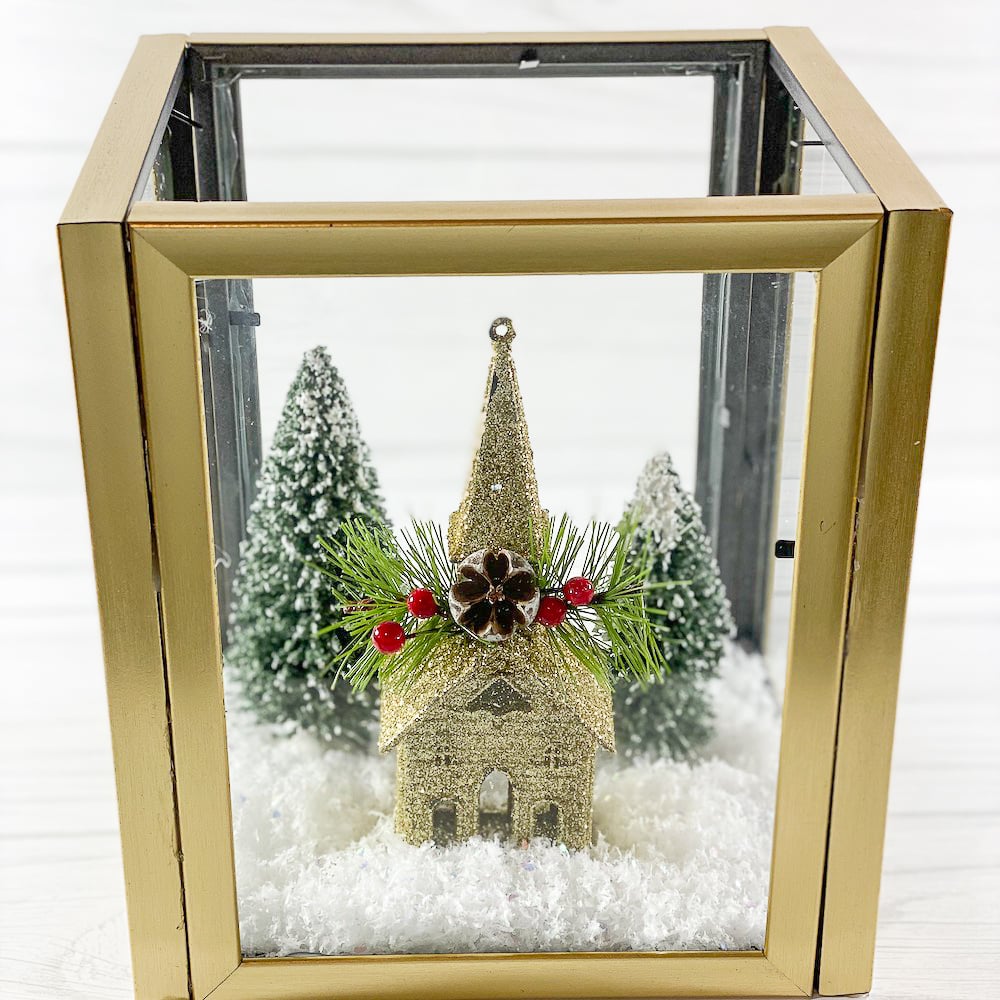
- Pour your snow in the box and arrange your village pieces where you want them. You can glue the figurines in place if you would like to.
- You can also add some lighting to your lantern to create a magical effect (tea light candles, fairy lights, battery operated LED lights, etc.)
There is a lot of room for creativity on this project. You can paint the frame any color you want and put anything you want inside! It can be used as a Christmas centerpiece, an accent piece or even a Christmas gift!
Related Posts:
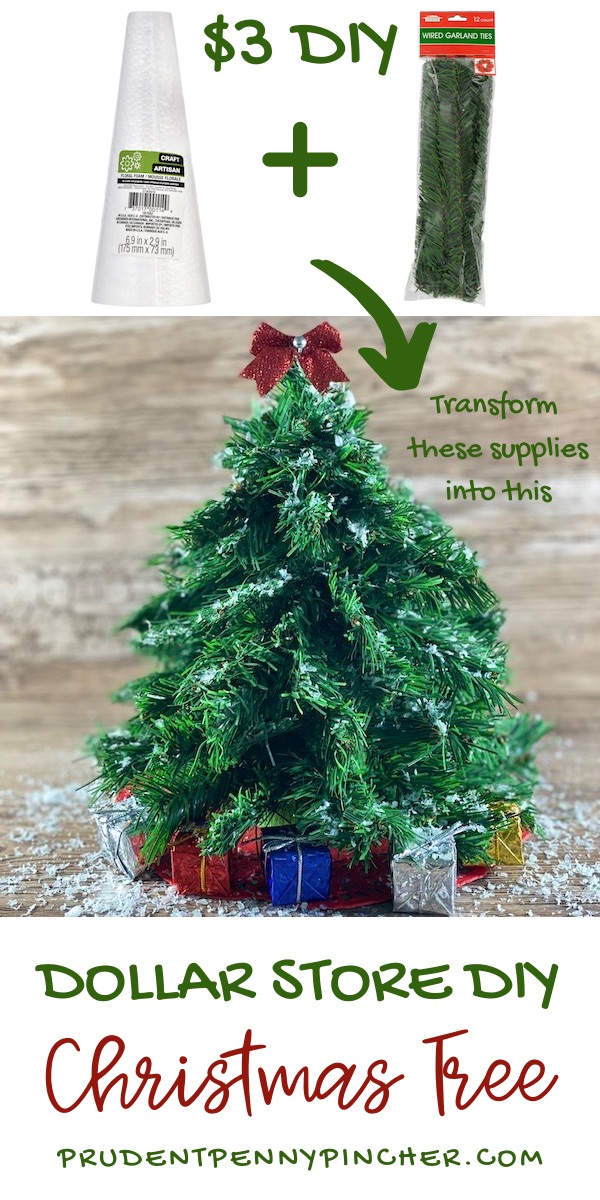
Dollar Store DIY Christmas Tree


Rosa says
So very beautiful 🎄❤️
Lizzy says
Such a lovely idea how did u do the base. Thank you lizzy
prudentpennypincher.com says
Hi Lizzy,
I used a white foam board (https://www.dollartree.com/readi-board-white-foam-boards/809955) from Dollar Tree for the base. I just traced an outline of the lantern base onto the board with a pencil and cut it out and used hot glue to secure it to the bottom of the lantern.
Sandy says
Love the frame Christmas scenes. What do you use for the top?
prudentpennypincher.com says
Glad you like it! I don’t use anything for the top so that I can change out the scene inside, but you could use another picture frame as the top like in this DIY: http://hip2save.com/2017/10/20/diy-dollar-tree-picture-frame-lanterns/