Subscribe to the latest

    ↑
    • Home
    • DIY & Crafts
      • Home Decor
      • Organization Ideas
      • Crafts
      • Gardening
      • Gifts
      • Cricut Projects
      • SVG Files
    • Printables
      • Coloring Pages
      • Free Printables
      • Printables Library
    • Holidays
      • Valentine’s Day
      • St Patrick’s Day
      • Easter
      • Mother’s Day
    • Recipes
      • Cheap & Easy Recipes
      • Slow Cooker
      • Instant Pot
      • Healthy
      • Desserts
    • Frugal Living
    • About

    Prudent Penny Pincher

    Save Money on DIY, Recipes, Crafts, Home Decor and More

    • Home
    • DIY & Crafts
      • Home Decor
      • Organization Ideas
      • Crafts
      • Gardening
      • Gifts
      • Cricut Projects
      • SVG Files
    • Printables
      • Coloring Pages
      • Free Printables
      • Printables Library
    • Holidays
      • Valentine’s Day
      • St Patrick’s Day
      • Easter
      • Mother’s Day
    • Recipes
      • Cheap & Easy Recipes
      • Slow Cooker
      • Instant Pot
      • Healthy
      • Desserts
    • Frugal Living
    • About

    Home » Holidays » Halloween » DIY Dollar Tree Halloween Witch Hat Wreath

    DIY Dollar Tree Halloween Witch Hat Wreath

    Published: Oct 5, 2021 by Stephy Leave a Comment This post may contain affiliate links. · As an Amazon Associate I earn from qualifying purchases.

    1.3K shares
    Jump to Tutorial Print Tutorial

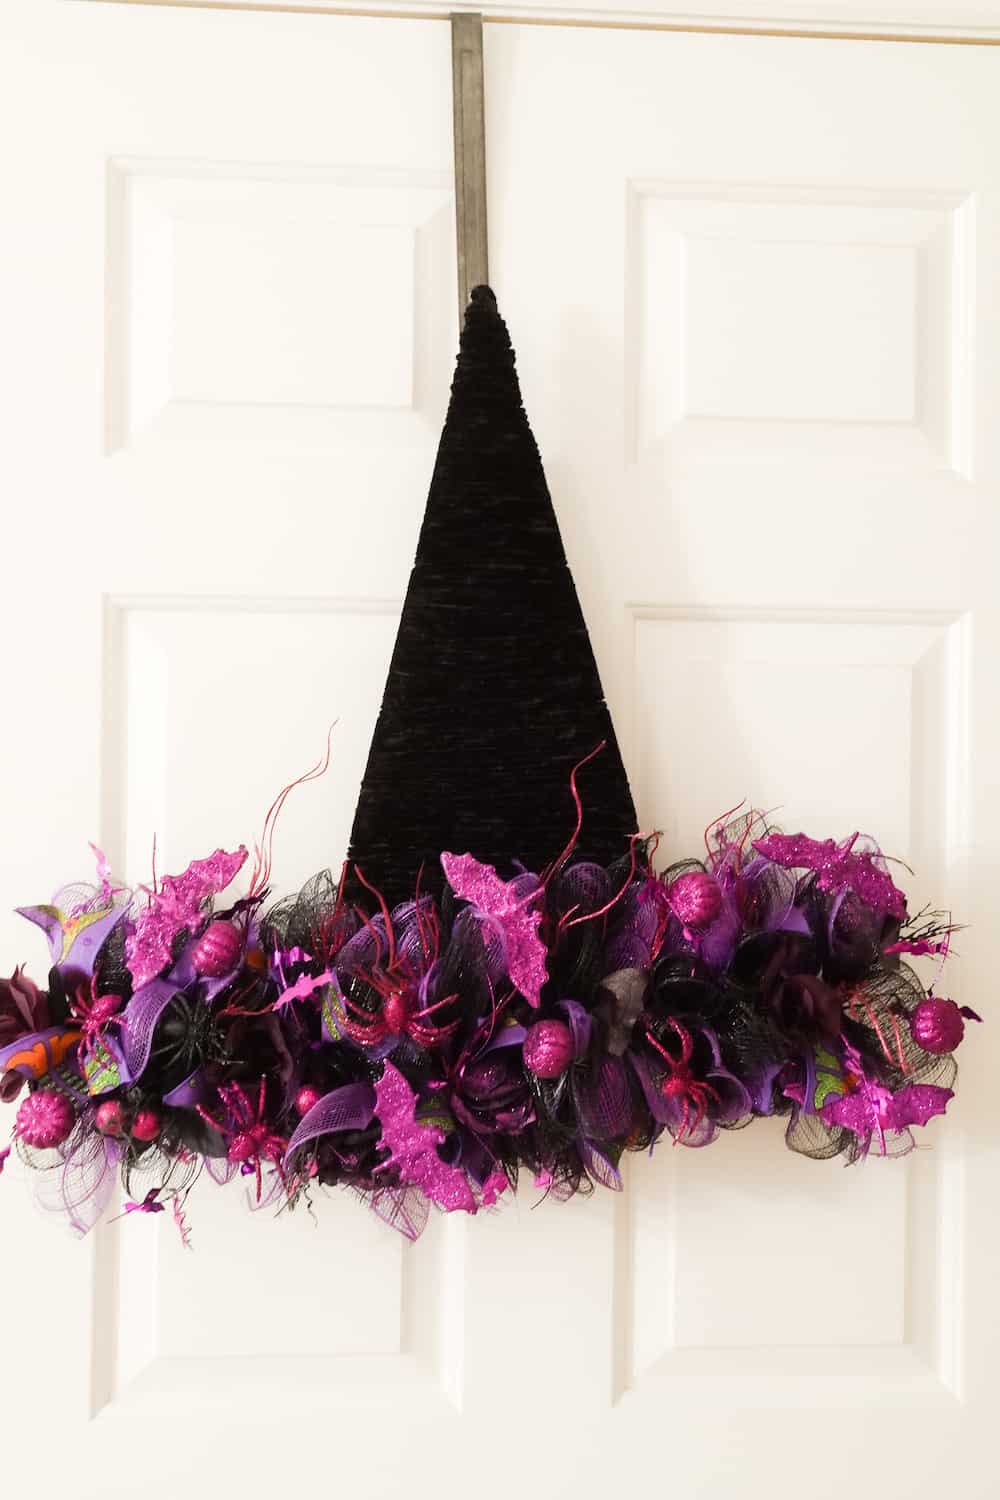
    Give your front door a spooky makeover on a budget with this DIY Dollar Tree Halloween Witch Hat Wreath.

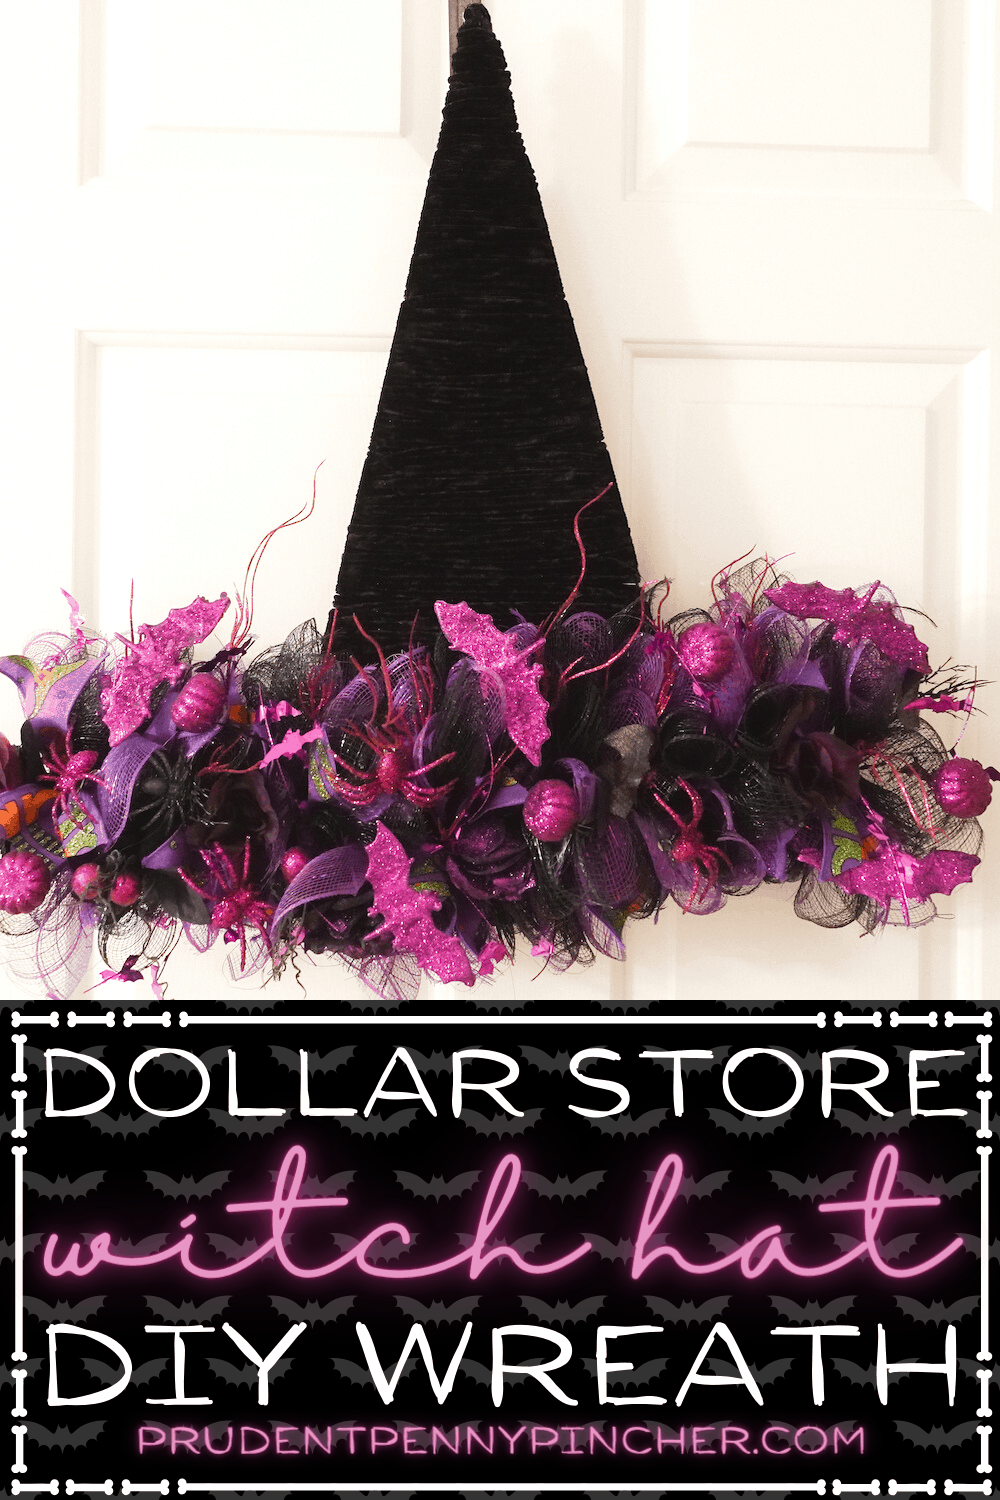
    To make this DIY halloween wreath all you need is deco mesh, black yarn, wire wreath form, and some halloween accents like ribbon, glittery clip-ons, etc.

    It costs about $15 dollars in supplies to make so it’s a cheap halloween decor idea to make. Plus, it’s easy to customize because you can change the color scheme (black and gray/ black and orange / black and green) and switch out the deco mesh for tulle or different patterns!

    This wreath would be a great addition to your spooky halloween porch for trick or treaters. Your kids can even help you make this fun halloween craft since it doesn’t require use of a glue gun.

    black and purple DIY witch hat wreath

    Supplies for this DIY Dollar Tree Witch Hat Wreath:

    • scissors
    • black yarn
    • deco mesh (purple and black)
    • halloween accents (halloween florals, glittery bats, pumpkins and spiders, foil/tinsel garland)
    • halloween ribbon
    • wire wreath form
    • black pipe cleaners

    Instructions for this DIY Dollar Tree Witch Hat Wreath:

    1. Starting at the top of the wreath, wind black yarn around until you get to the last two sections of the wreath at the bottom. Be sure to tie off the top and bottom ends around the back of the wreath.
    2. Cut strips of deco mesh and dove tailed ribbon (about 5″-8″).
    3. For each section, I did two purple and two black deco mesh rolls with a piece of ribbon, section of garland or another accent (like a floral) in the front.
    4. Secure each bundle with a black pipe cleaner tied around the bottom section of the wire wreath form, making sure the chenille stems are in the back of the wreath. Then, fluff it out.
    5. Repeat until you go through all the deco mesh and the wreath form is entirely filled with no gaps.
    6. Add clip on accents like bats, spiders, pumpkins, etc.

    Step by Step Tutorial:


    black and purple DIY witch hat wreath

    DIY Dollar Tree Halloween Witch Hat Wreath

    Stephy
    DIY witch hat halloween wreath using dollar tree supplies
    5 from 1 vote
    Print Pin
    Total Time 1 hour hr 30 minutes mins
    Yield 1 wreath

    Equipment

    • scissors

    Materials
      

    • 1 bundle yarn black
    • 2 rolls deco mesh purple
    • 2 rolls deco mesh black
    • 1 wired ribbon purple
    • 1 pack pipe cleaners black
    • 1 witch hat wire wreath form
    • halloween accents (halloween florals, glittery bats, pumpkins and spiders, foil/tinsel garland)

    Instructions
     

    • Starting at the top of the wreath, tie the yarn off behind the wreath and wind black yarn around the top.
    • Wrap the yarn around the wreath form (going from one side to the other) until you get to the last two section of the wreath at the bottom and then tie off the bottom end around the back of the wreath.
    • Cut strips of deco mesh for all 4 rolls and at least 1 roll of dove tailed ribbon (about 5″-8″ for each). You don't need to be precise with cutting or measuring because no one will notice.
    • Roll deco mesh strips in groups of 4 (2 purple ones and 2 black ones). Add an accent piece in the front such as ribbon, garland, floral stem, etc.
    • Once your bundle is completed, pinch them together in the middle and tie a black pipe cleaner around the pinched area, making sure it's tied off in the back.
    • Continue making bundles of deco mesh with accents until you use all the deco mesh and ribbon.
    • Add each bundle to the wire wreath form by tying the the black cleaner around the top and bottom of the last section of the wreath. Make sure the pipe cleaners are facing the back of the wreath.
    • Continue adding the bundles and push them together to ensure there are no gaps between them. To keep them together tightly, it helped me to not only tie the black pipe cleaners to the wreath form but to the previous bundle as well. Alternate between bundles with ribbons and accents to give it a symmetrical look.
    • Once you have added all the bundles and the wreath is full, fluff it out.
    • Add all your clip-on accents to the wreath.
    Tried this project?Let us know how it was!

    Related Post

    75 Best Halloween Wreaths
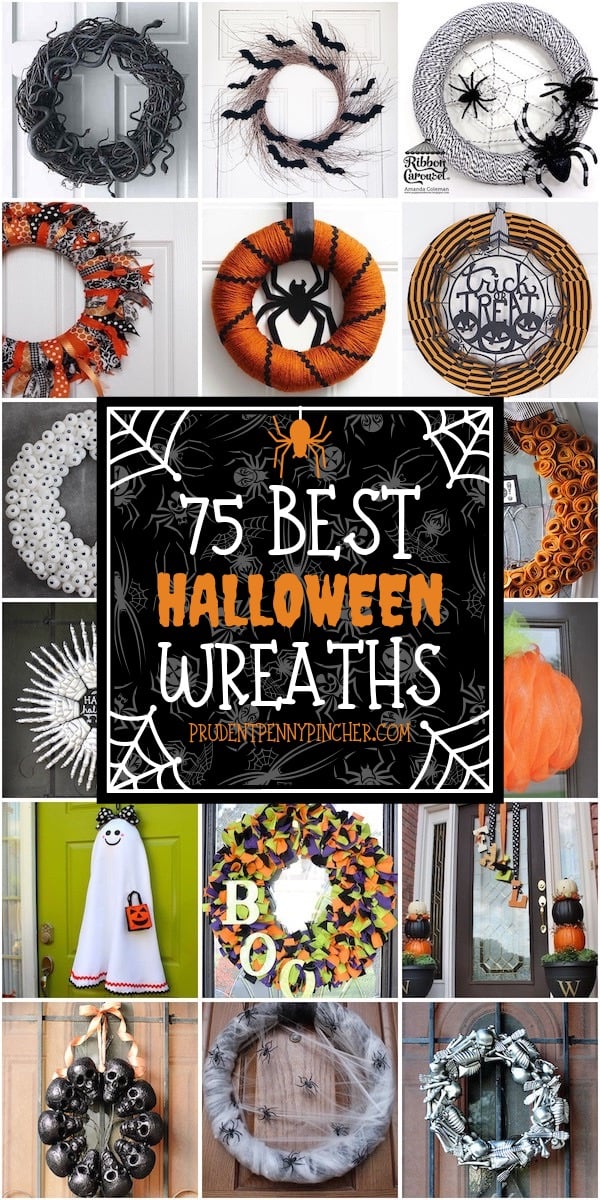
75 DIY Halloween Wreaths


    Easy DIY Dollar Tree Halloween Wreath

    More Halloween Crafts, Decor & Recipes

    • 25 Free Printable Vampire Coloring Pages
    • 25 Free Printable Werewolf Coloring Pages
    • 25 Free Printable Zombie Coloring Pages
    • Free Printable Halloween Candy Signs
    1.3K shares
    5 from 1 vote (1 rating without comment)

    Leave a Reply Cancel reply

    Your email address will not be published. Required fields are marked *

    Rating


    This site uses Akismet to reduce spam. Learn how your comment data is processed.

    Hi, I'm Stephy! I am the owner of Prudent Penny Pincher. I have been an author, content developer, and professional blogger for seven years. Prudent Penny Pincher explores ways to save money in daily life with a particular focus on DIY projects, crafts, and budget-friendly recipes while sharing helpful frugal tips along the way.

    More About Me →

    Popular Posts

    • beef shepherds pie top of casserole
      5 Ingredient Easy Shepherd’s Pie
    • 100 Cheap and Easy Crockpot Recipes
    • 150 Super Cheap Meals for When You Are Flat Broke
    • 100 Best Meal Prep Recipes
      100 Best Meal Prep Recipes

    Summer Ideas

    • 30 Best Nonalcoholic Summer Drinks
    • 35 Best Under the Sea Crafts for Kids
    • fish crafts for kids
      30 Best Fish Crafts for Kids
    • 25 Best Summer Mantel Decor Ideas
    See more Summer Ideas →

    Father's Day Ideas

    • 20 Best DIY Father’s Day Gift Baskets
    • 10 Free Printable Father’s Day Cards for Kids to Color
    • Free Printable Father’s Day Gift Tags
    • Free Father’s Day SVG Files

    Featured On

    What’s Trending

    50 Easy Easter Crafts for Kids

    100 Best Meal Prep Recipes

    100 Best Meal Prep Recipes

    beef shepherds pie top of casserole

    5 Ingredient Easy Shepherd’s Pie

    free printable spring coloring pages (1000 × 1152 px)

    30 Free Spring Coloring Pages for Kids

    Subscribe to the latest

      Prudent Penny Pincher Logo
      Copyright ©2025, Prudent Penny Pincher. All Rights Reserved. Design by Pixel Me Designs
      AboutPrivacy PolicyContactAccessibility Policy

      Rate It

      Your vote:


      A rating is required
      A name is required
      An email is required

      Recipe Ratings without Comment

      Something went wrong. Please try again.