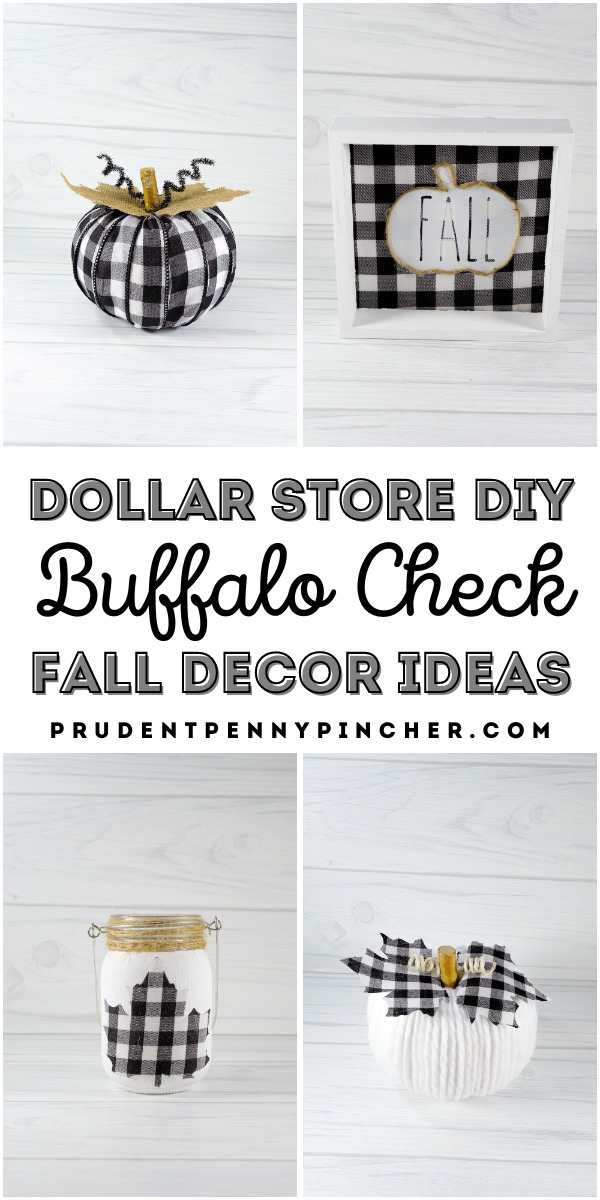
Give your home a cozy, neutral fall farmhouse style on a budget with these dollar store buffalo check fall decor ideas. From DIY buffalo check pumpkins to buffalo check fall centerpieces, there are plenty of fall decorations to make using dollar tree supplies. These dollar tree fall crafts are a perfect way to welcome autumn into your house and add some country charm to your home without breaking the bank.
$1 Buffalo Check Items Used:
- Dollar Tree’s Buffalo Check Wired Ribbon
- Hobby Lobby Buffalo Check Scrapbook Paper – (4 for $1)
- Michaels White & Black Buffalo Checks Bandana ($1.29 with a 50% off coupon)
Dollar Store Buffalo Check Fall Decor Supplies Used (can be found at Dollar Tree):
- foam pumpkins
- mason jars
- wood stems for pumpkins
- yarn
- shadow box
- twine
- acrylic paint
- faux leaves
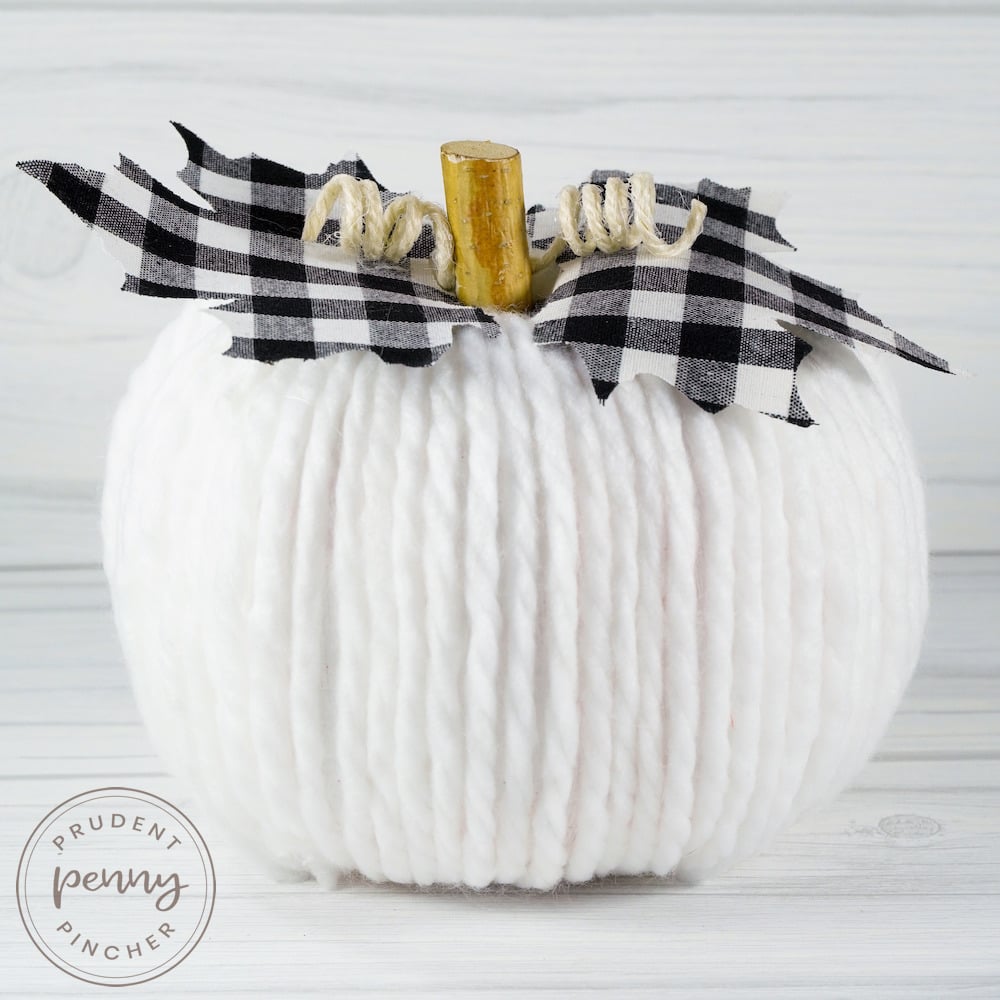
Farmhouse Yarn Pumpkin
Supplies:
- foam pumpkin
- white yarn
- white paint
- buffalo check leaves
- stick for stem
- twine for tendrils
Materials:
- craft knife
- Mod Podge
- foam brush and paint brush
- pencil
- glue gun and glue stick
Time: 10 minutes
Cost: $5
Difficulty Level: Easy
Instructions:
- Remove the stem on the pumpkin.
- Using your craft knife, carve a quarter size hole (about a 1″ diameter) where the stem was.
- Paint the pumpkin white.
- Measure how much yarn you need to go from the stem of the pumpkin to the bottom and cut equal strips of yarn. You will need about 100 yards (1 package).
- Glue the end of a strip of ribbon to the bottom center of the pumpkin and glue or tuck the top part of the yarn into the hole. Repeat for remaining strips until your pumpkin is covered in yarn.
- Push your stick into the top of the pumpkin. If it is around 1″ in diameter, it should fit perfectly in your pumpkin without having to glue it in place.
- Glue two maple leaves to the sides of the stem.
- Cut 2 pieces of 2 inches of twine. Coat each piece in Mod Podge and wrap around a pencil to make a curly tendril. Once the tendrils dry, remove them and glue them on either side of the stem.
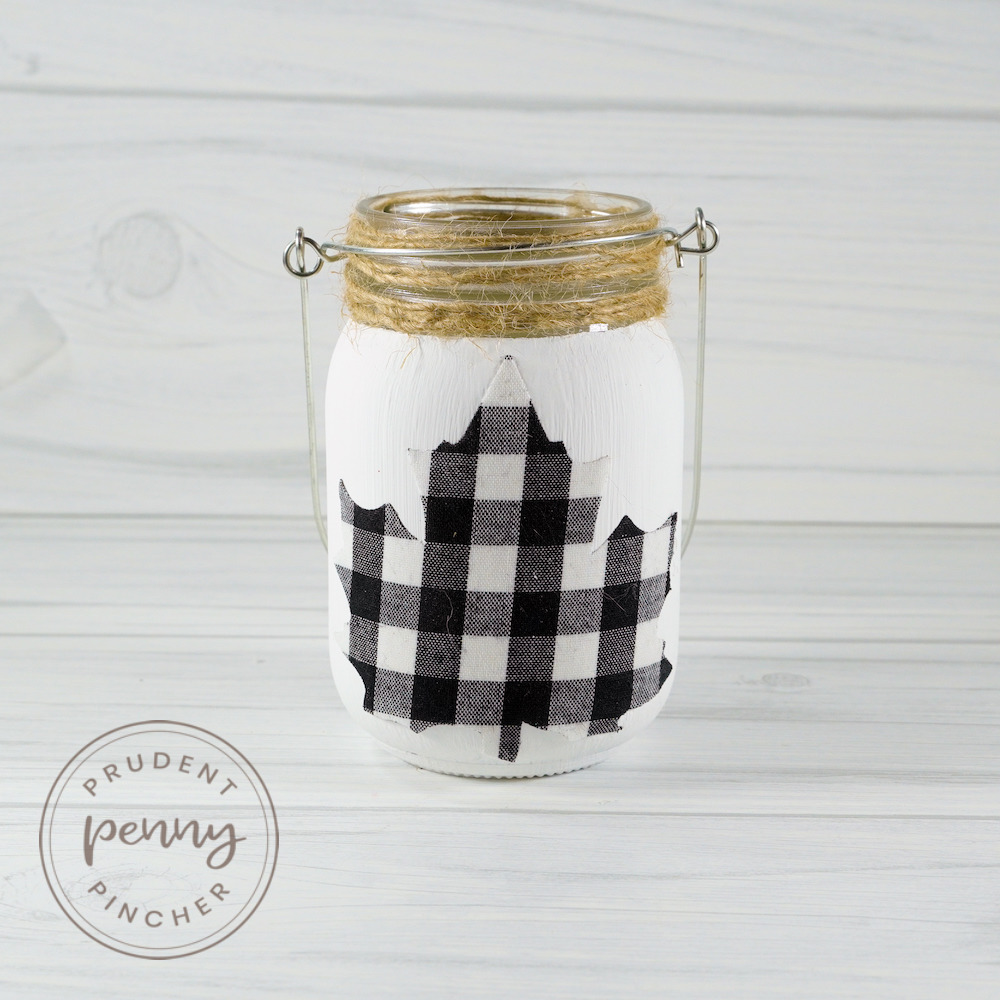
Buffalo Check Maple Leaf Lantern
Supplies:
- white chalk paint
- painter’s tape
- mason jar lantern
- buffalo check paper
- Mod Podge and foam brush
Time: 15 minutes
Difficulty Level: Easy
Cost: $3
Instructions:
- Put painters tape over the mouth of the jar.
- Paint the lantern white using chalk paint. You’ll need a few coats of paint most likely. Let it dry.
- You can make the buffalo check maple leaf out of scrapbook paper or fabric, whichever you prefer. Measure the size of your jar and print out a maple leaf shape that is the appropriate size and trace it onto the back of your buffalo check paper. Then, cut the shape out of the buffalo check paper. You can also use a Cricut to make the maple leaf shape as well.
- Brush the back of the maple leaf with Mod Podge and glue in the center of the lantern.
- Wrap the mouth of the jar with twine. Add a bow if you’d like.
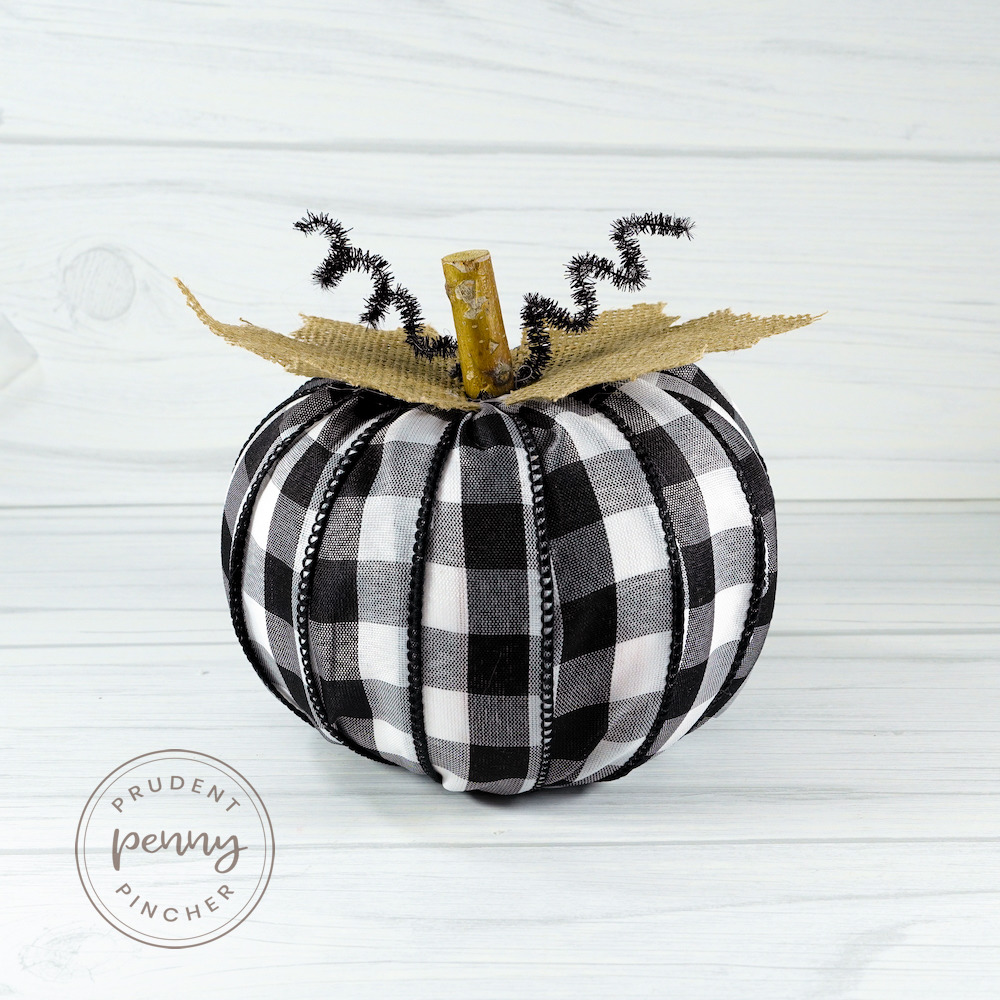
Buffalo Check Fall Pumpkin
Materials:
- buffalo check ribbon
- burlap leaves
- foam pumpkin
- wood stick or cinnamon stick for stem
- white paint
- black pipe cleaner for tendrils
Supplies:
- craft knife
- glue gun and glue stick
Time: 10 minutes
Cost: $5
Difficulty Level: Easy
Instructions:
- Remove the stem on the pumpkin.
- Paint the pumpkin white.
- Using your craft knife, carve a quarter size hole (about a 1″ diameter) where the stem was.
- Measure how much buffalo check ribbon you need to go from the stem of the pumpkin to the bottom and cut equal strips of ribbon.
I used 9 strips and each strip was about 8 inches long so I used a little more than half of a roll of ribbon to make this pumpkin. - Glue the end of a strip of buffalo check ribbon to the bottom center of the pumpkin and tuck the top part of the ribbon into the hole. Repeat for remaining strips.
- Push your stick into the top of the pumpkin. If it is around 1″ in diameter, it should fit perfectly in your pumpkin without having to glue it in place.
- Glue two maple leaves to the sides of the stem.
- Cut the pipe cleaner in half. Wrap each piece of pipe cleaner around a pencil to curl it to make tendrils and glue it on either side of the stem.
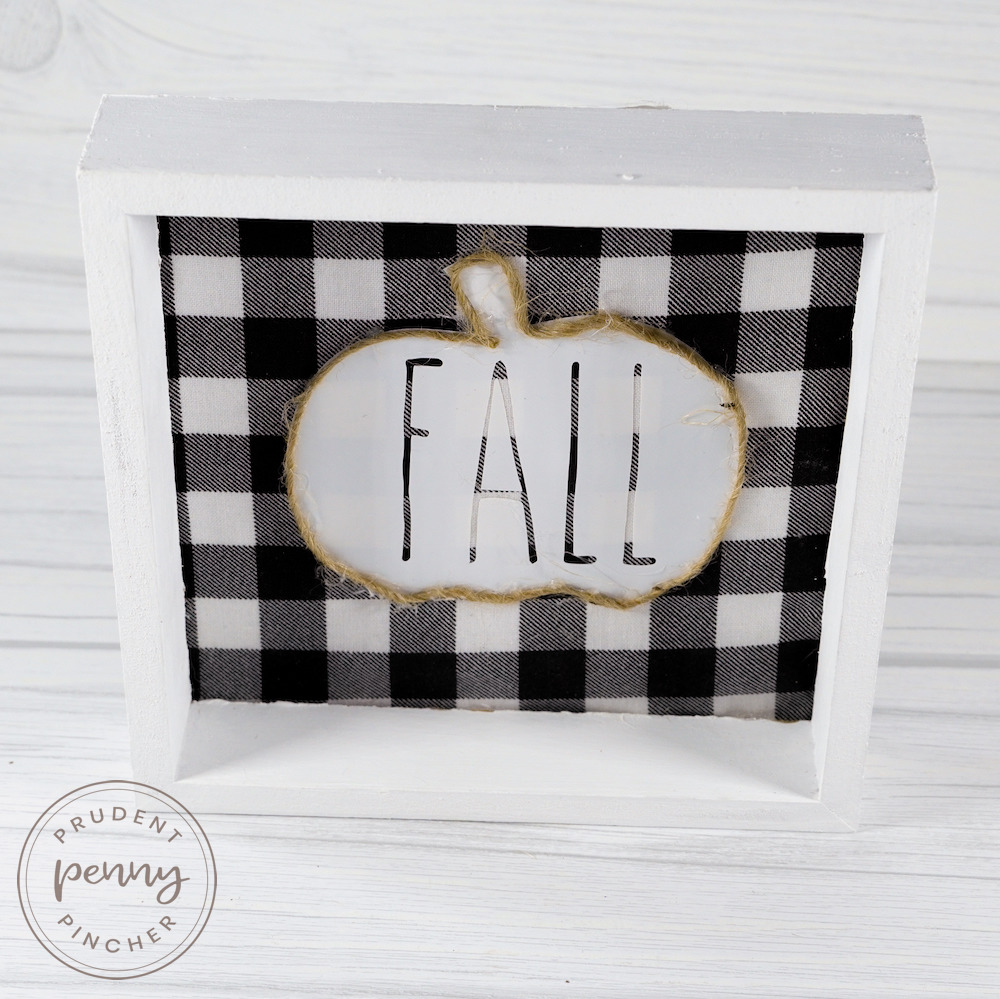
Wall Art Dollar Store Buffalo Check Fall Decor
Supplies:
- shadow box wall art
- white chalk paint
- buffalo check fabric
Materials:
- Mod Podge and foam brush
- glue gun
- ruler
- Circuit Explorer Air 2
- White vinyl
Time: 30 minutes
Difficulty Level: Easy
Instructions:
- Remove the 3d art from the middle of the shadow box.
- Pry off the back cover.
- Paint the frame white and let it dry.
- Measure the back cover with a ruler.
- Cut out that amount of buffalo check fabric.
- Glue the fabric to the front of the back cover.
- Glue the back cover back into place.
- Using the Cricut Design Space, create a 3.5″ pumpkin shape and add the word “fall” in the center of the pumpkin using Skinny font or whatever font you prefer.
- Select both the shape and the word and click slice.
- Delete the layers from the word until the letters are transparent.
- Click “Make it”
-
Cut your vinyl down to the size you are going to use.
-
Load mat with vinyl into the machine.
-
Select the correct vinyl settings and press go to begin cutting your project.
- Weed out the letters and put the pumpkin shape in the center of the shadow box.
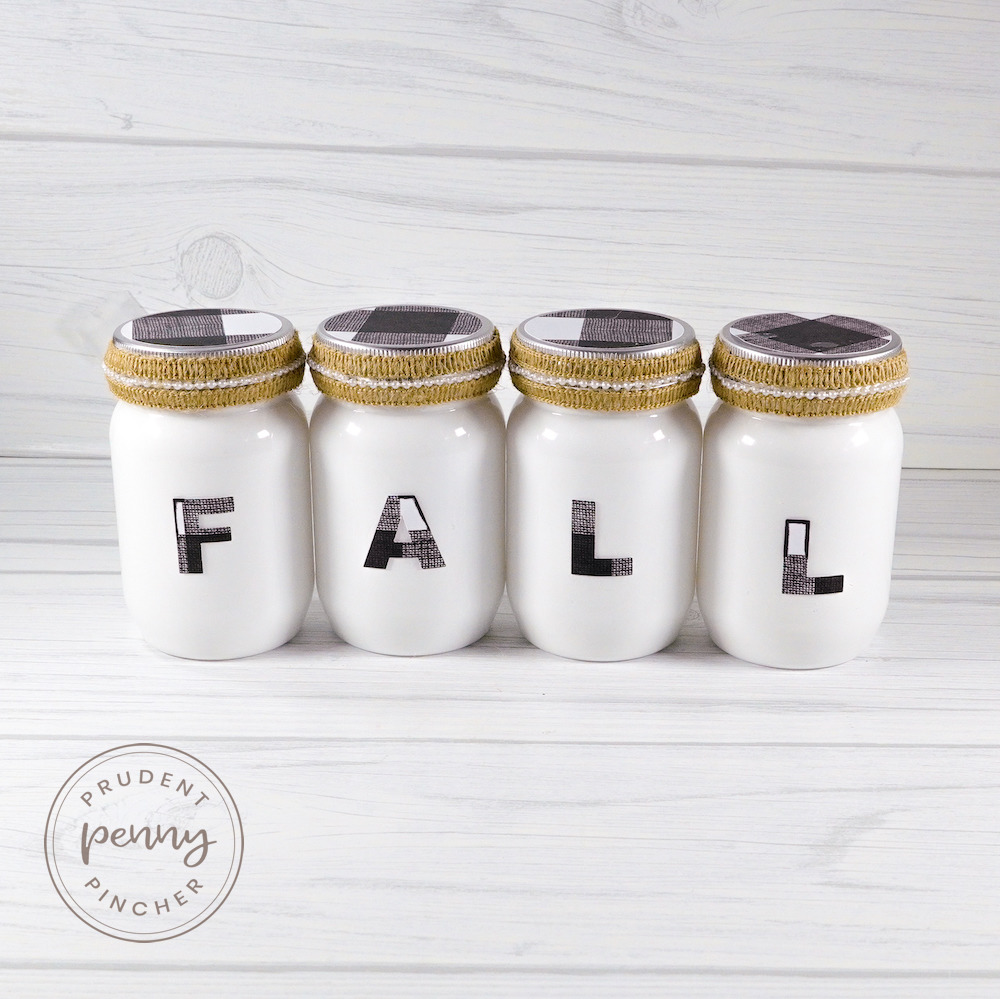
Buffalo Check Fall Mason Jar Centerpiece
Supplies:
- 4 craft or mason jars
- white paint
- buffalo check scrapbook paper
- burlap ribbon or twine
Materials:
- ruler
- pencil
- paintbrush
Time: 30 minutes
Cost: $6
Difficulty Level: Easy
Instructions:
- Paint the jars white and let dry.
- Use a cutting machine or a printer to make letters that spell ‘fall’. The size of the letters depend on the size of your jars. I used the small craft jars and 1″ letters. If you print your letters, cut them out, trace them with a pencil on the back of your scrapbook paper and cut out the letters from the scrapbook paper.
- Measure your lid size and make buffalo check circles for the top. Mine were 3 inches so I did 2″ circles. You can make them with a circle punch, cutting machine or by tracing a printed shape and cutting it out on scrapbook paper like with the ‘fall’ letters.
- Glue a burlap ribbon to the mouth of your jar.
- Note: You may have to trace the white part of the letters with a black pen or marker if they don’t show up well against the white mason jars.
 100 Dollar Store Fall Decor Ideas


Leave a Reply