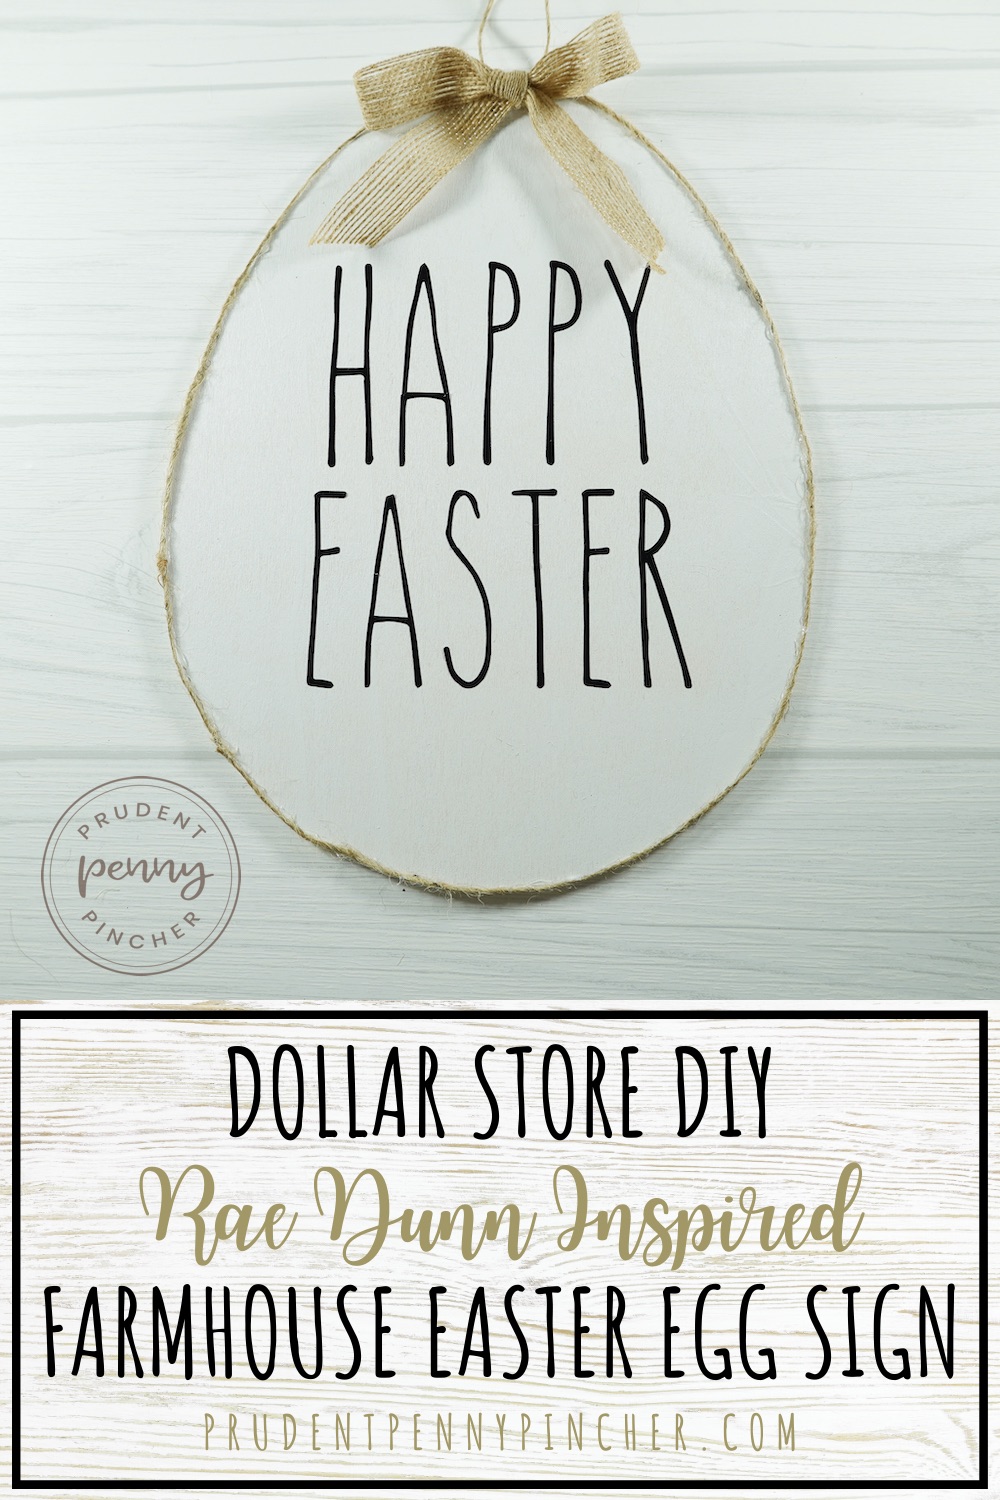
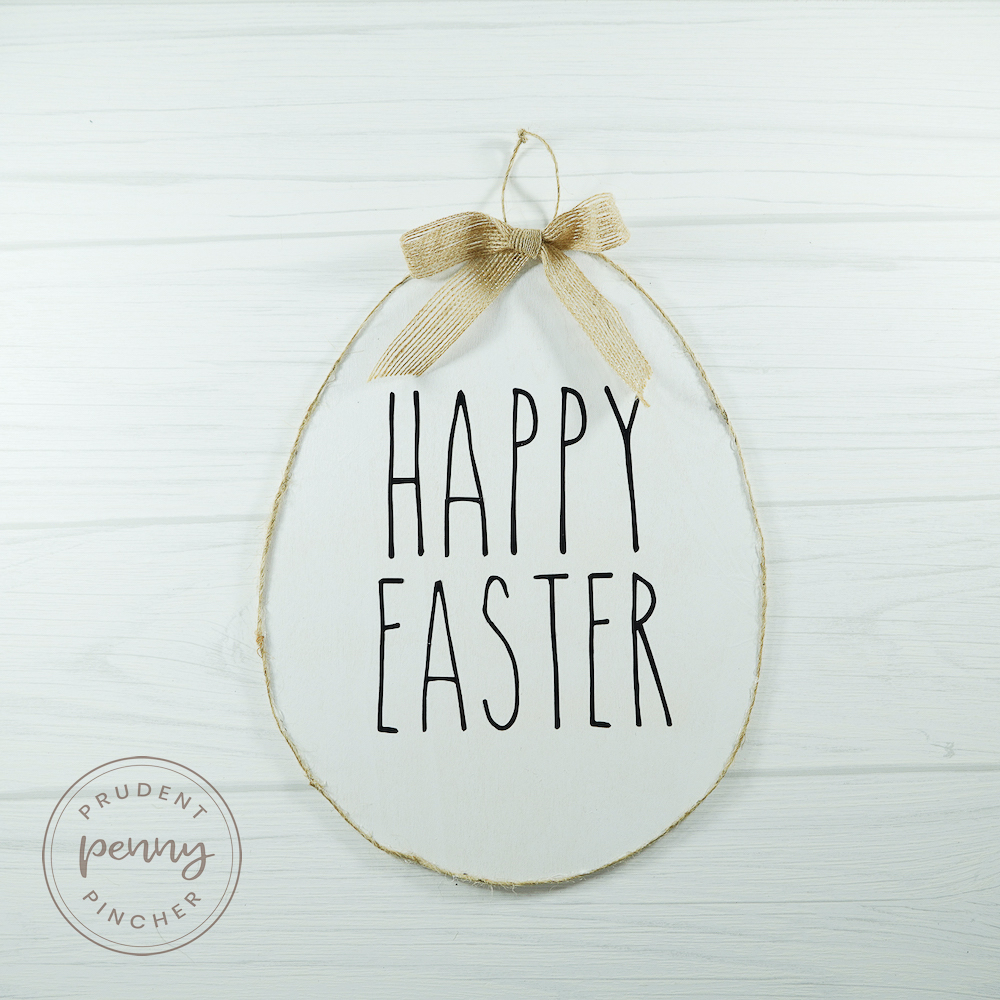
Give your home a rustic and cozy makeover for Spring with this Rae Dunn Inspired Dollar Store DIY Farmhouse Easter Sign. It costs less than $10 to make and takes less than 15 minutes to complete.
I got the wooden Easter egg, the twine and burlap required for this project at Dollar Tree and I already had the vinyl and spray paint on hand so it only cost me $2 to make. You can also hand paint it with chalk paint to give it even more of a country-chic look.
To make the ‘Happy Easter’ words, you have a few different options. You can use a cutting machine, stencils or trace the letters by hand. I used my Cricut Explore Air 2, black vinyl, and transfer tape. The font I used was the free Skinny font from Dafont.com. I have included detailed instructions below for how to make the words using the Cricut method. If you are using the same $1 wood Easter egg from Dollar Tree, then make the lettering around 4.5-5 inches wide.
Even though the directions for this Rae Dunn Inspired Dollar Store DIY Farmhouse Easter Sign look long, it’s actually a really quick and easy project to do. I just wanted to give you a complete step-by-step process of how to use Cricut Design Space and transfer tape to make this project, but if you have already used design space and are familiar with transfer tape then you should breeze through the instructions. You can also watch this informative video on how to transfer the vinyl to your easter egg using transfer tape. Sometimes, it’s more helpful to see the process instead of read it!
Rae Dunn Inspired Dollar Store DIY Farmhouse Easter Sign

DIY Rae Dunn Inspired Farmhouse Easter Egg Sign
Equipment
- Cricut Explore AIr 2
- scissors
- glue gun
- ½ Glue Stick
Materials
- wood easter egg sign
- twine
- burlap ribbon
- vinyl black
- transfer tape
- spray paint white
Instructions
- Spray paint your easter egg and let it dry overnight.
- Make your words by what ever method you prefer (see note below). I choose to use the Cricut Explore Air 2 for this project so I will describe how I did that.
- Download 'The Skinny' font and install it to your computer.
- Open Cricut Design Space and click on text. Then, select the system font tab and search for the font.
- Type your words and make them 4.5"-5" wide if you are using the Dollar Tree easter egg.
- Cut your vinyl and transfer tape down to the size you are going to use. I did 5.5 x 6.5 to leave a little room on the sides.
- Load mat with vinyl into the machine.
- Select the correct material type and settings and press go to begin cutting your project.
- Weed the vinyl by removing everything but the letters from your vinyl.
- Remove the backing from the transfer tape and align it with the vinyl.
- Press the transfer tape down onto the vinyl and rub the tape on the vinyl firmly with the scraper tool or a credit card.
- Peel the vinyl backing from the transfer tape carefully.
- Align your words in the center of the easter egg.
- Rub the tranfer tape down on the easter egg using your scrapper tool.
- Slowly start peeling the tranfer tape from the vinyl. Flatten any bubbles with your scraper tool.
- Glue down the twine along the edges of your easter egg.
- Glue your burlap ribbon at the top of the easter egg in the center.
- Cut a small piece of twine. Loop and tie it around the hole in the top for hanging.
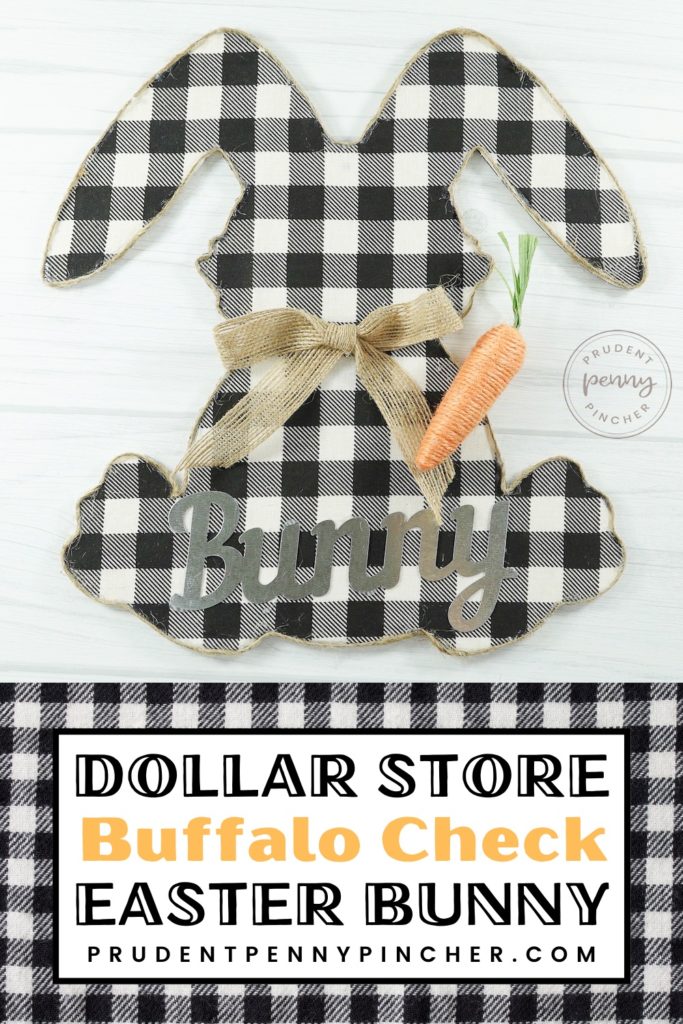 Dollar Store DIY Buffalo Check Easter Bunny






Leave a Reply