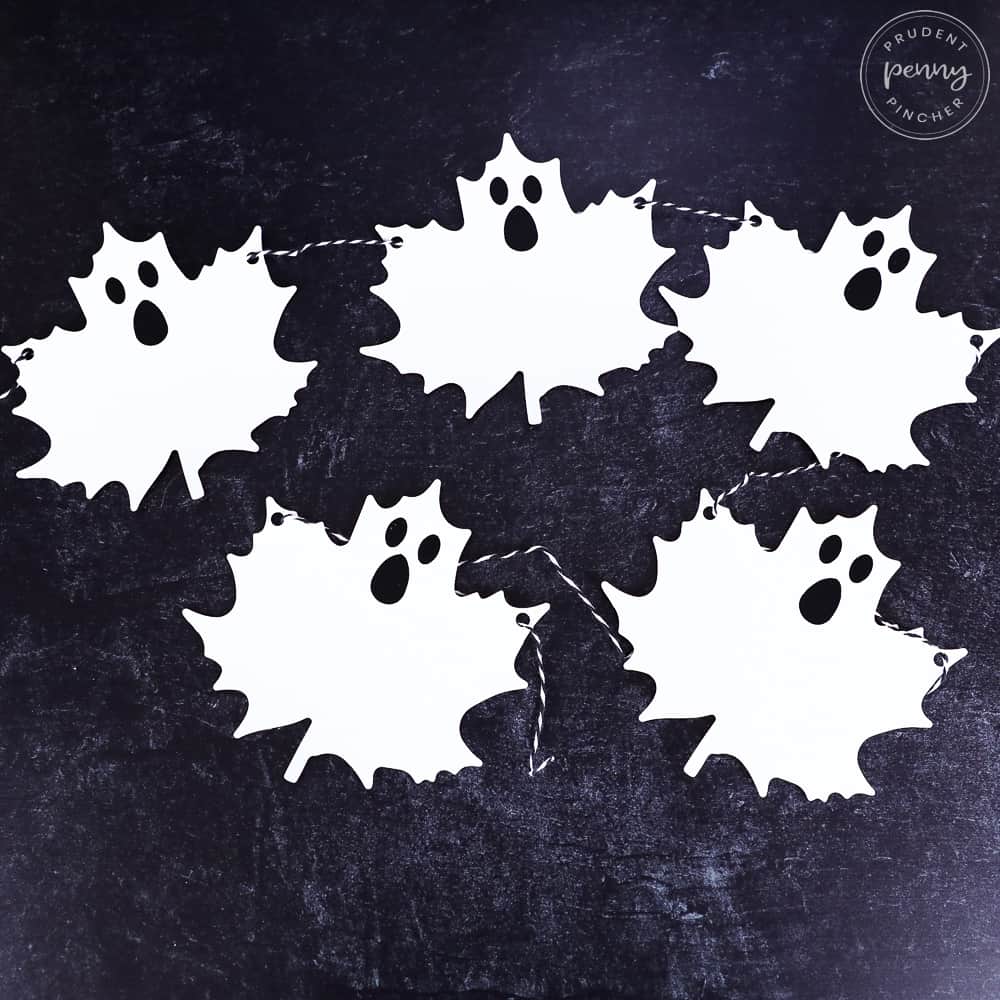
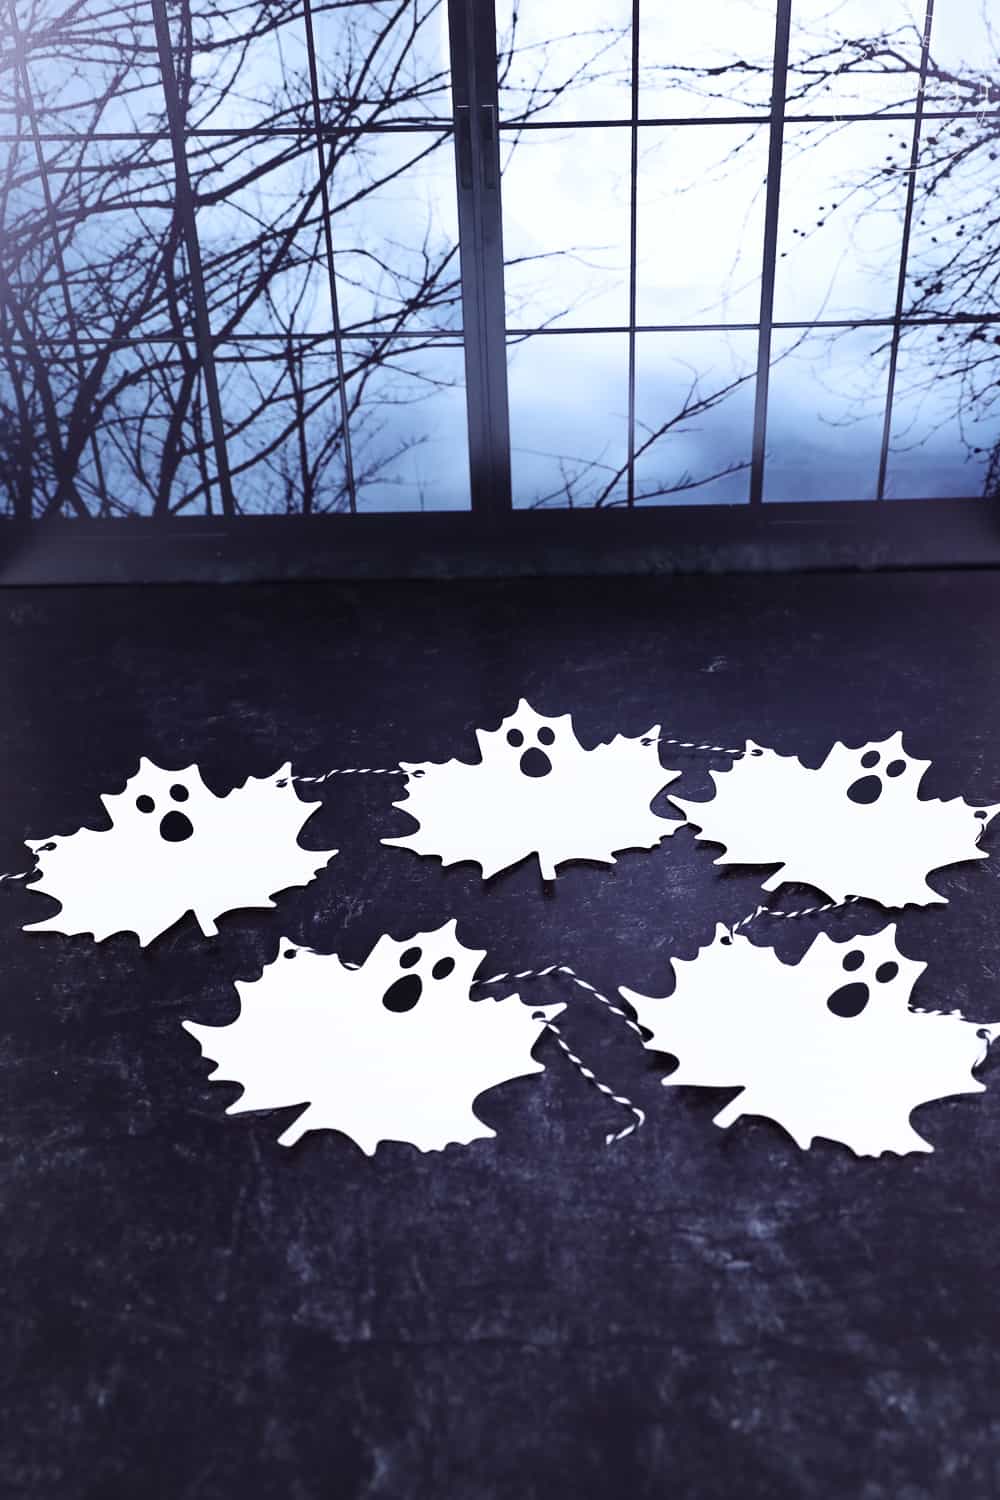
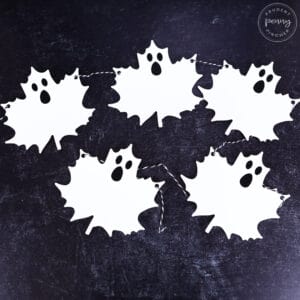
Give your home a spooktacular makeover for Halloween with this cute DIY Leaf Ghost Garland.
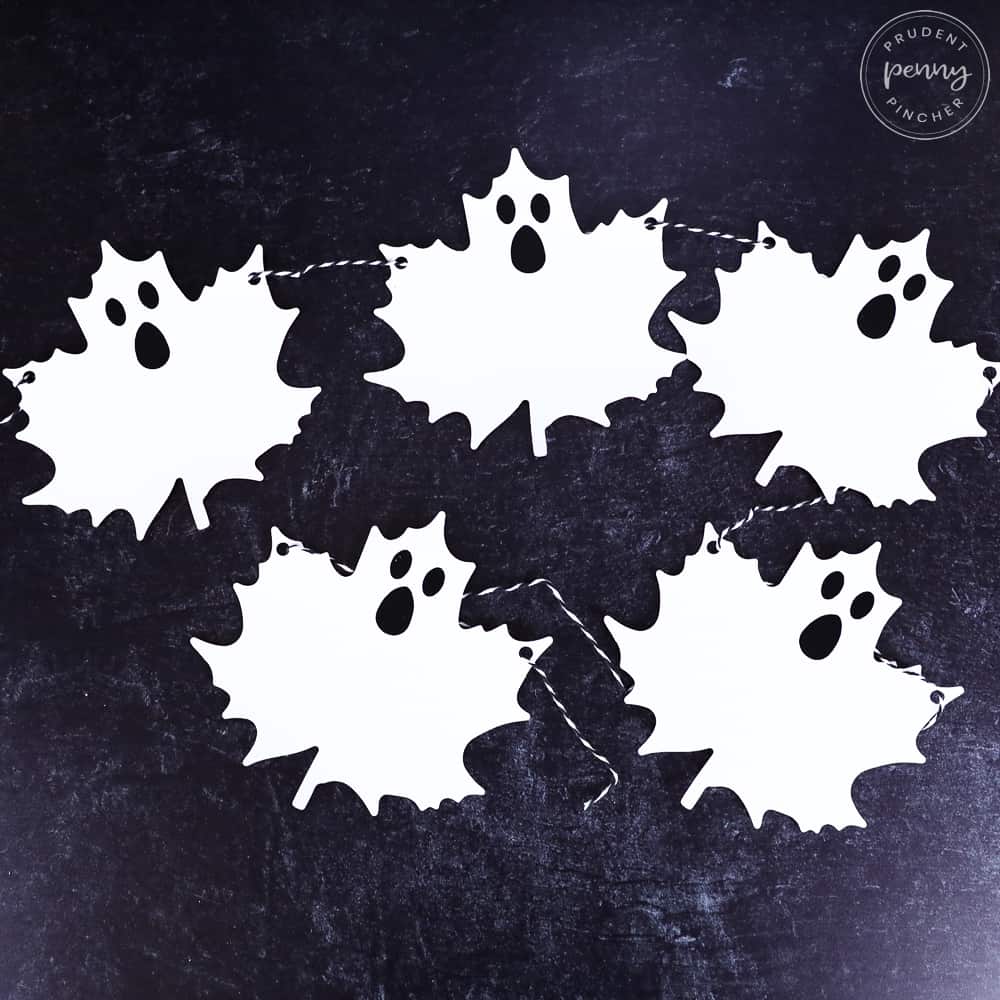
Embrace the spooky spirit with this DIY Halloween craft for adults and kids. It is a boo-tiful addition to your DIY Halloween decorations and is super easy to make!
Whether you want to add this Halloween garland to your Halloween mantel or behind a Halloween table at Halloween parties, this homemade garland is sure to give your October festivities a ghostly touch and impress your party guests or trick-or-treaters.
There are a few different ways you make your own ghost garland. The most professional and easiest way is with a Cricut machine or another electronic cutting machine. It will make cutting out the shapes a breeze. However, you can also cut them out by hand if you don’t have a Cricut.
So, skip the store-bought decorations and save some money by taking the time to craft something unique and special. This DIY garland will allow you to infuse your own personal touch into your spooky decor and festivities.
Jump to:
Supplies Needed
- Fall leaves – There are several different ways you can do this part of the project:
- Option 1: Buy leaf cut-outs from a craft store (I got mine at Hobby Lobby for $1.50 for a pack of 24.) They were already white, so I didn’t have to do any painting.
- Here are the ones I used (I just used the backs of these orange ones.)
- Option 2: Make the fall leaves with your Cricut machine and some white cardstock. If you want to go this route, here is the fall leaf svg.
- Option 3: Paint a pack of dollar store maple leaves white.
- Option 4: Preserve some real fall leaves and dip them in white paint.
- Option 5: Print out a maple leaf template and cut it out. Here’s a download link to one I made.
- Option 1: Buy leaf cut-outs from a craft store (I got mine at Hobby Lobby for $1.50 for a pack of 24.) They were already white, so I didn’t have to do any painting.
- Ghost face – Here is the download folder. There is an SVG file for your Cricut machine and a PNG to print and cut out by hand if you want to.
- black vinyl
- white cardstock or paper (optional)
- scissors (optional)
- weeding tools (optional)
- Cricut machine (optional) – I used a Cricut Explore Air 2
- black and white baker’s twine
- hole punch
Download the Ghost Face SVG | Download the Leaf SVG
Now, let’s transform these simple materials into this cute ghost decoration for your spooky soirée.

How to Make This DIY Ghost Garland
This tutorial will show you how to make the garland on the Cricut machine.
Before beginning this craft project: Gather all materials and decide on the length of the garland and how many ghosts you want on it.
Using Cricut Design Space
If you want to use your Cricut machine to cut out a maple leaf template on cardstock or white paper, follow this same tutorial to make the leaf sign. The only difference will be choosing a different material type.
- Open Cricut Design Space
- Click the “New Project” button at the top right.
- Click the “Upload” button on the bottom of the toolbar on the left side of the screen.
- Press the “Upload” button again and then the “Browse” button.
- Locate your ghost.svg file and click “Open” and “Upload.”
- Your file will be under recent uploads. Click it and then “Add to Canvas.”
- Resize it to fit the size of your maple leaf. My ghost face was 1.5″x1.5.”
- Click “Attach” to keep the design together.
- Select your ghost face and copy and paste how many you plan on making, depending on the length of your garland.
- Click “Make it.”
- Add an appropriate amount of black vinyl to your mat.
- Set the material type to Premium Vinyl.
- Feed it into your machine by pressing the load button on your machine.
- Press the go button on your machine to begin cutting your design.
Assembling and Hanging the Ghost Garland
- Use a weeding tool to remove the ghost faces from the vinyl.
- Add them to the top center of each maple leaf to make the ghost head.
- Hole punch both sides of the ghost.
- Thread the string or twine through the hole punches.
- Decide on the length of space between each ghost. Adjust accordingly.
- Trim any excess thread or twine from the ends.
- Choose a location, like above a doorway, across a mantle, or on a wall.
- Use hooks, tape, push pins, or other suitable means to hang the garland securely.
If you tried this DIY garland or any other DIYs on my website, please leave a 📝 comment below and let me know how it went!
More Halloween Decorations
- 75 Best DIY Halloween Wreath Ideas
- 100 Best Halloween Porch Decor Ideas
- 50 Cheap & Easy DIY Outdoor Halloween Decorations
- 100 DIY Dollar Tree Halloween Decorations


Follow me on Pinterest, Facebook, Flipboard, or Instagram for more inspiration on crafts, DIY, free printables, and recipes!
DIY Leaf Ghost Garland
Equipment
- Cricut machine
- scissors optional
- weeding tools
Materials
- black and white baker's twine
- hole punch
- black vinyl
- white fall leaf cut-outs or templates See notes for more further details
- white cardstock or paper (optional)
- SVG files ghost face and fall leaf
Instructions
Using Cricut Design Space
- Open Cricut Design Space
- Click the “New Project” button at the top right.
- Click the “Upload” button on the bottom of the toolbar on the left side of the screen.
- Press the “Upload” button again and then the “Browse” button.
- Locate your ghost.svg file and click “Open” and “Upload.”
- Your file will be under recent uploads. Click it and then “Add to Canvas.”
- Resize it to fit the size of your maple leaf. My ghost face was 1.5″x1.5.”
- Click “Attach” to keep the design together.
- Select your ghost face and copy and paste how many you plan on making, depending on the length of your garland.
- Click “Make it.”
- Add an appropriate amount of black vinyl to your mat.
- Set the material type to Premium Vinyl.
- Feed it into your machine by pressing the load button on your machine.
- Press the go button on your machine to begin cutting your design.
Assembling and Hanging the Ghost Garland
- Use a weeding tool to remove the ghost faces from the vinyl.
- Add them to the top center of each maple leaf to make the ghost head.
- Punch holes on either side of the ghost.
- Weave the string or twine through the punched holes.
- Determine the desired spacing between each ghost and modify as needed.
- Cut off any extra string or twine.
- Pick a spot for the garland, such as over a doorframe, along a mantel, or against a wall.
- Securely hang the garland using hooks, tape, or push pins.
Notes
- Purchase pre-made leaf cut-outs from craft stores, like the white ones I got from Hobby Lobby for $1.50 for 24 pieces.
- Here are the ones I used – I just used the backs of these orange ones.
- Make fall leaves using your Cricut machine and white cardstock; Here’s a link to the fall leaf svg.
- If you want to use your Cricut machine to cut out maple leaf templates on cardstock or white paper, follow the above tutorial to make the leaves. The only difference will be choosing a different material type.
- Get a pack of fake maple leaves from the dollar store and paint them white.
- Preserve real fall leaves and dip them in white paint.
- Download, print, and cut out maple leaf templates by hand; here’s a link to one I’ve designed for you.


Leave a Reply