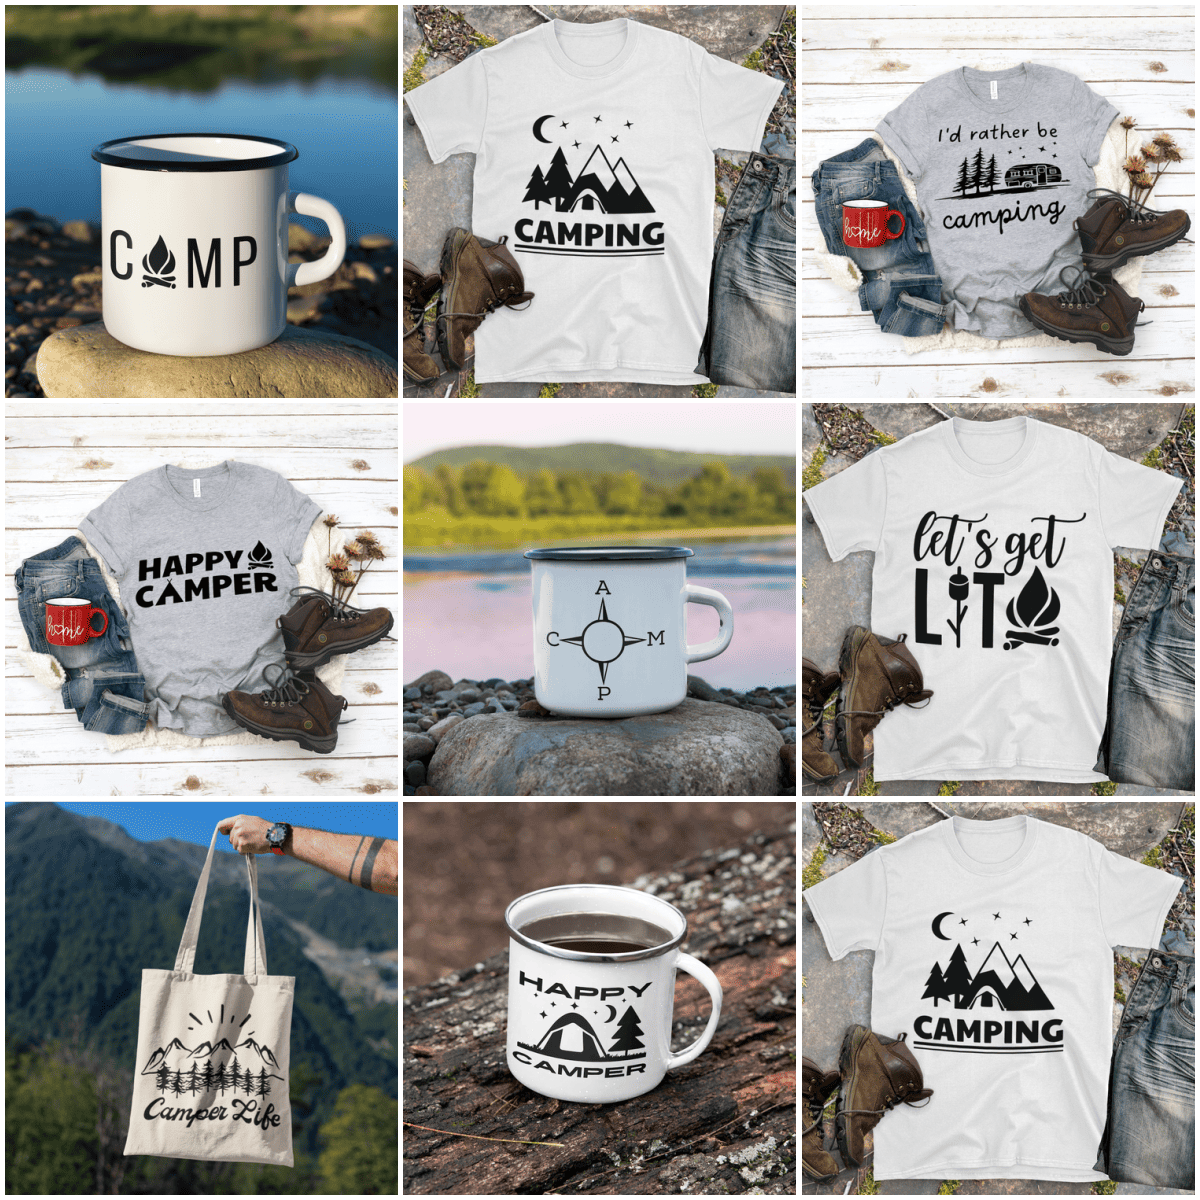
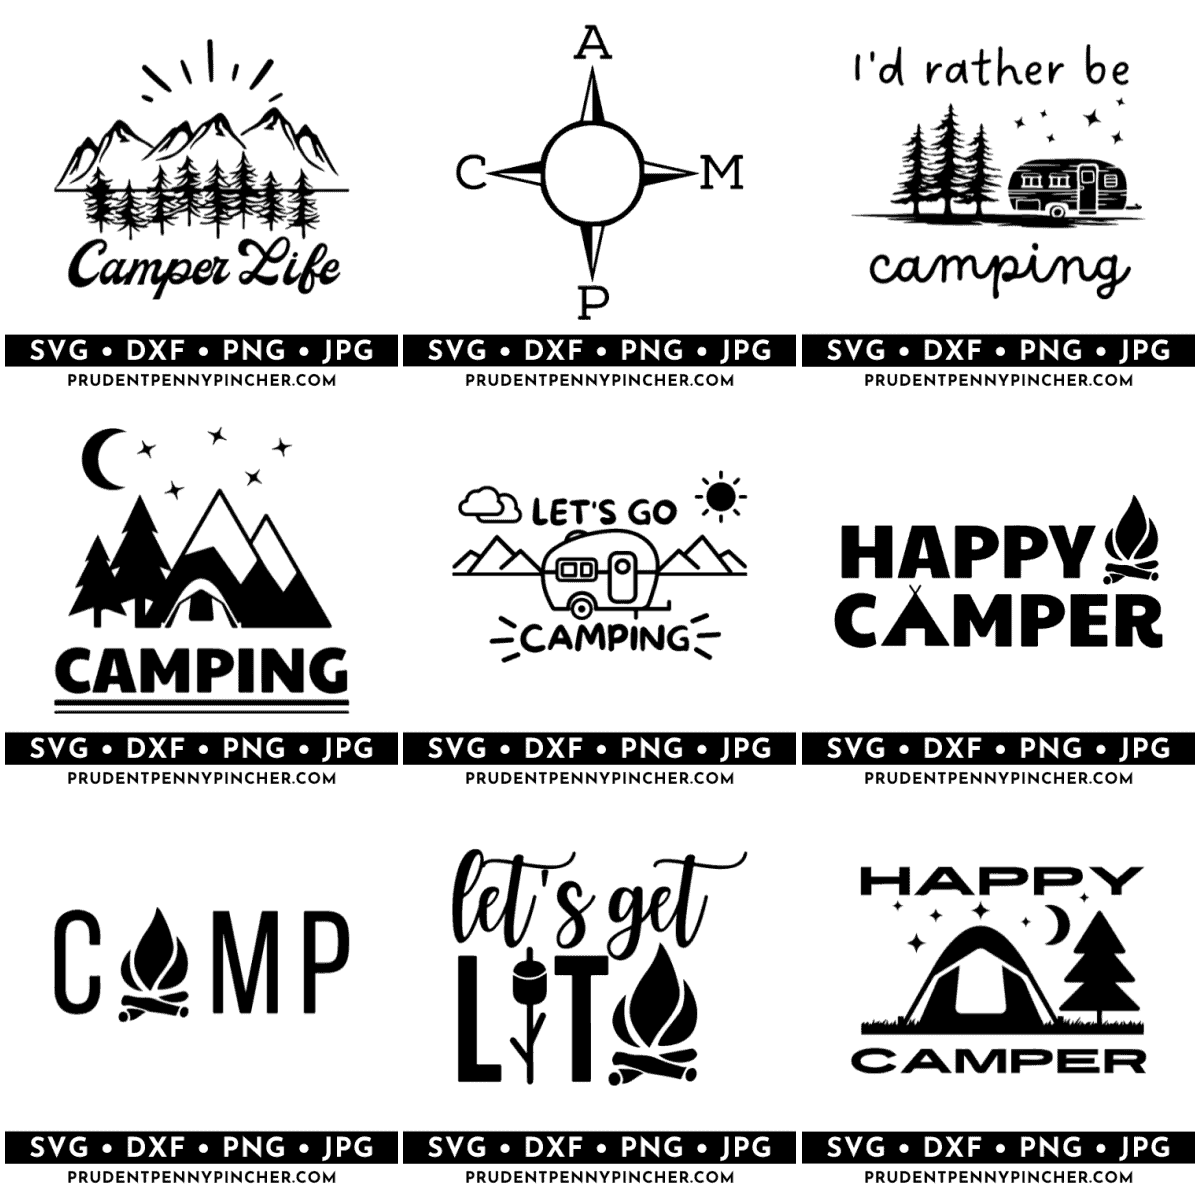
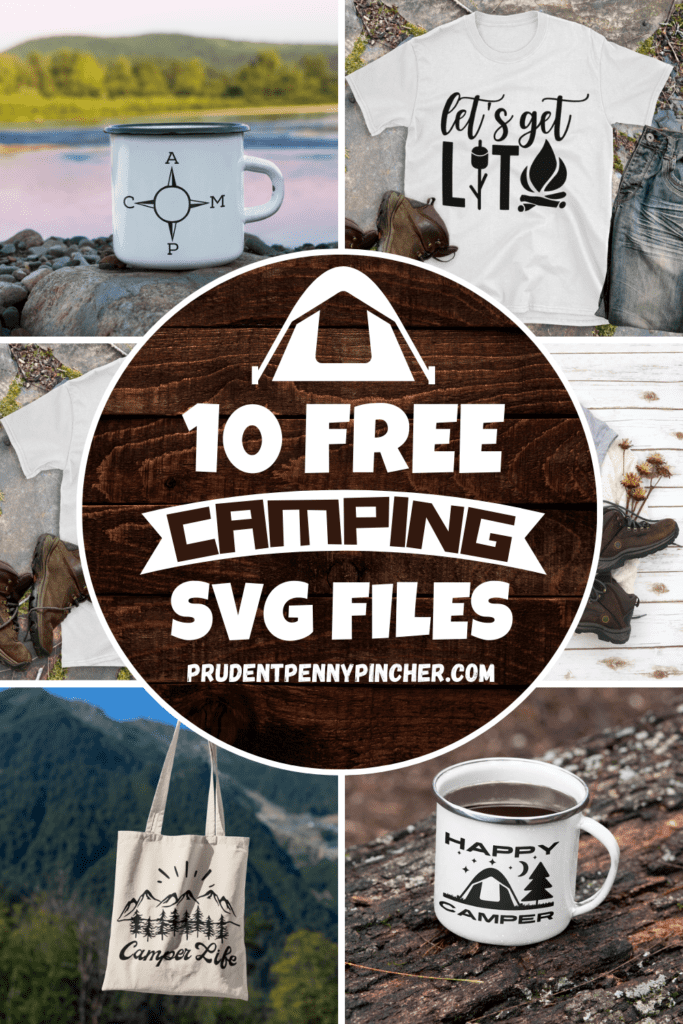
Show off your love of camping with these free camping SVG files. You can make custom t-shirts, tote bags, mugs, tumblers, home decor, and more with these files.
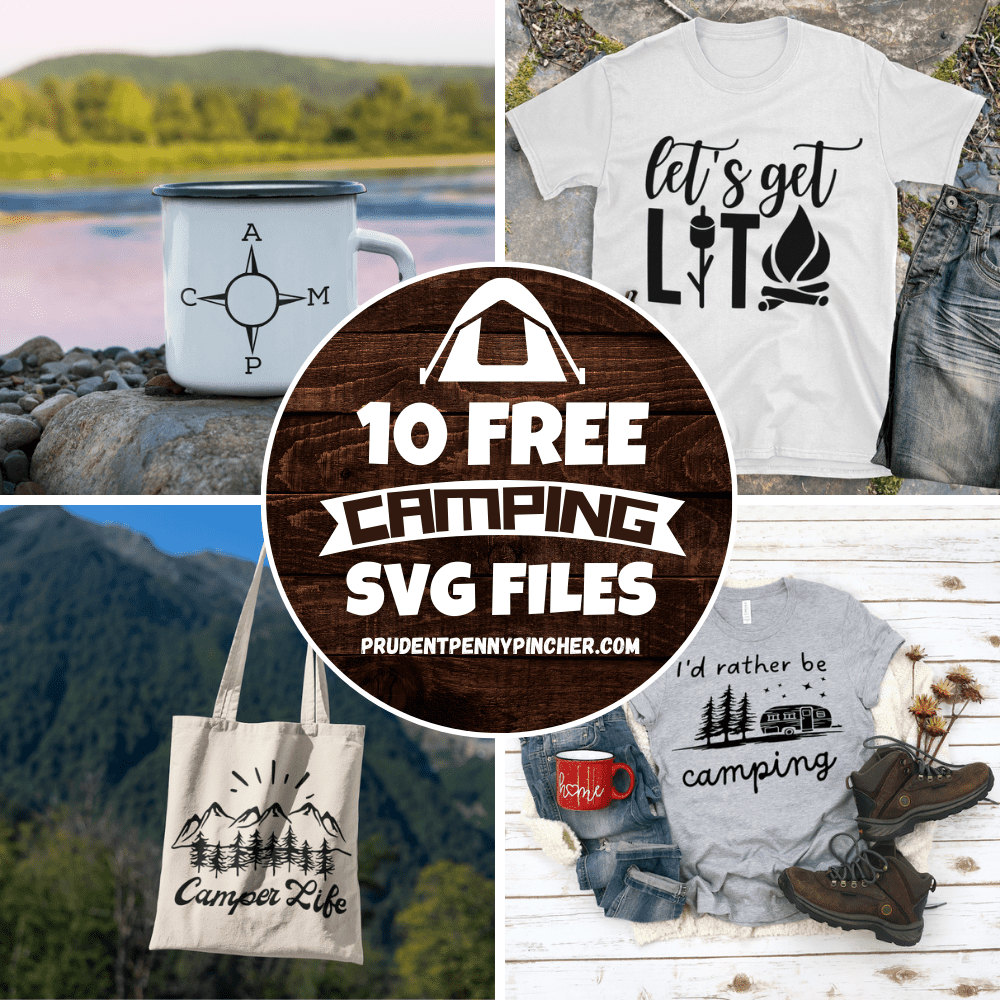
Whether you are decorating your camper with some wood signs or making a happy camper shirt, there are plenty of summer crafts for the Cricut to choose from. They make the perfect DIY gift for a camping lover in your life too!
They are available to download for free in the following file types:
- SVG
- DXF File
- PNG File
- JPG
- EPS File
Please note that these free Camping SVG cut files are for PERSONAL USE ONLY. They are digital download files and not physical products.
Jump to:
Camping SVG Project Ideas
Whether you’re a fan of the great outdoors and want to create custom camping decor or you are looking to make thoughtful, personalized gifts for camping lovers, these digital files can help you bring your ideas to life.
You can unique home decor pieces that reflect your love for camping, the charm of the wilderness imprinted on your walls, or a tent-inspired design on your throw pillows. With these SVG files, you can transform an ordinary item into a piece of art that resonates with your hobbies and interests.
The beauty of these camping SVGs is that they can be used on various materials and surfaces, giving you the freedom to choose and experiment.
Here are some examples of different ways to use these designs:
- wooden sign
- A camping t-shirt – You will need a Cricut EasyPress 2 (or iron) and Heat Transfer Vinyl (HTV) or Smart Iron-On to make these free cut files into shirts. There is a tutorial down below that shows you how to do that.
- reversible canvas
- tote bag
- mug using a mug press
- vinyl decal to add to your camper door
- hoodie
- pillow for your camper
- doormat
- wood door hanger
- coasters
- tea towels
- hats or caps
- pins/buttons
- and much more!
Remember, the possibilities are endless with SVG files. You can use them on any item for printing or vinyl cutting. So, feel free to experiment and get creative!
Supplies Needed
- Cricut EasyPress 2 (or another heat press or iron)
- Blank shirt
- Heat Transfer Vinyl (HTV) or Smart Iron-On
- Camping SVG Bundle – An email subscription is required to receive access to this free SVG file. Immediately after subscribing to our newsletter, you will receive a welcome email with the password for the printables library, where you will find them under “Summer”.
- Weeding Tools
- EasyPress Mat (optional)
Cricut Design Space Tutorial for Using These Camping SVG Files
- Launch the Cricut Design Space software. Please note that the steps might differ if you’re using Silhouette Studio or other cutting machine software.
- Begin by clicking on the “New Project” button to start a fresh design.
- You will find an “Upload” button on the bottom left of the toolbar. Click on this to import your desired file.
- Navigate to your file’s location on your device and select it.
- Once the file is uploaded, you will see an option “Add to Canvas”. Click on this to bring your SVG file to your working area.
- Now, if your design is of a single color, you might want to ensure it stays intact while working on it. To do this, you can select the “Attach” option. However, if you’re working with a multi-color design, “Attach” only elements of the same color together.
- Once you’re satisfied with your design, click the “Make It” button.
- The next steps involve your Cricut machine. The software will automatically transmit the necessary data from the Design Space to your Cricut machine.
- Follow the on-screen prompts to guide your machine in cutting the design accurately.
- If you plan to use iron-on vinyl, select the “Mirror” option on the cut screen. This will flip your design for proper application.
If you are using an EasyPress, here is a guide to help you. It will tell you what settings to use for your press depending on fabric type, adhesive vinyl type, and more.
TO GET THE FREE CAMPING SVGS, ENTER YOUR NAME AND EMAIL ADDRESS INTO THE FORM BELOW AND CLICK THE “GET THEM NOW!” BUTTON!
Immediately after filling out the form and subscribing to our newsletter, you will receive a welcome email with the password for the library where you will find them under “Summer”.
SVG FAQs
More SVG Files
- 20 Free Mother’s Day SVG Files
- 15 Free Teacher SVG Files
- 20 Free Easter SVG Files
- 10 Free St Patrick’s Day SVG Files
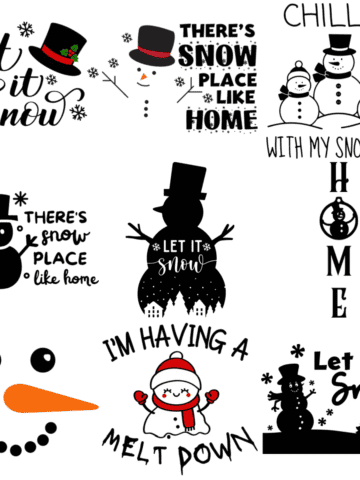
- 10 Free Snowman SVG Files
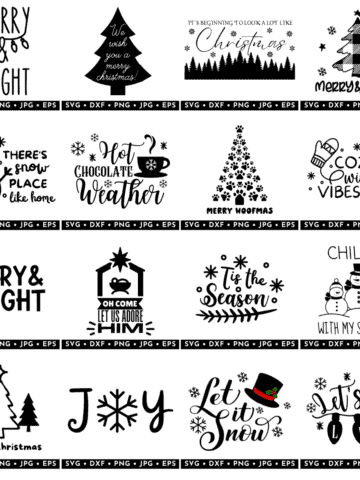
- 50 Free Christmas SVG Files
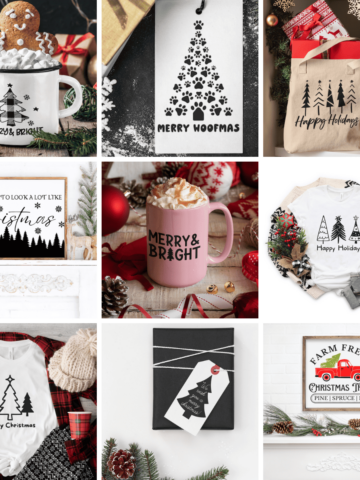
- Free Christmas Tree SVG Files
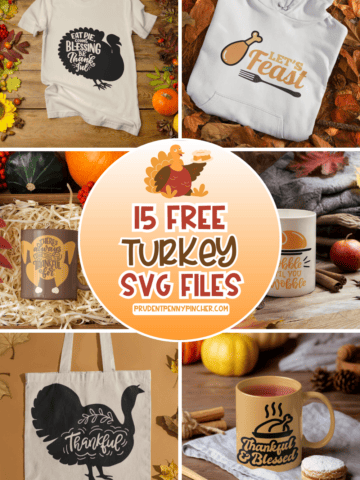
- 15 Free Turkey SVG Files for Thanksgiving
More DIY Craft Projects
- 25 Easy Fall Crafts for Preschoolers
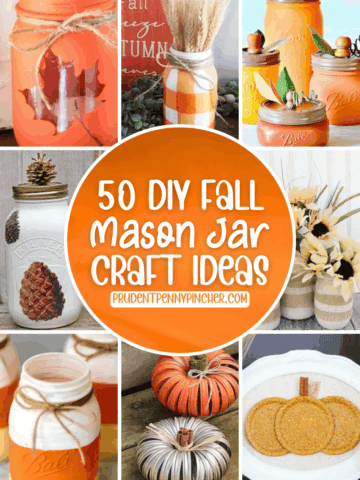
- 50 DIY Fall Mason Jar Crafts
- 100 Best Fall Crafts for Kids
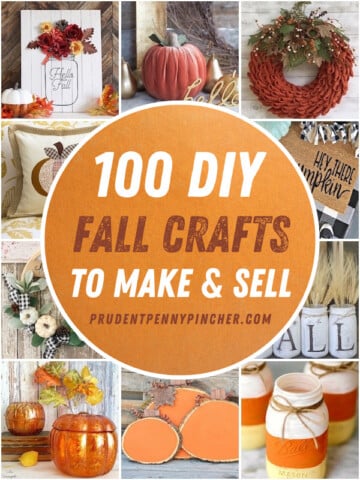
- 100 DIY Fall Crafts to Sell

If you tried one of these DIY crafts or any other craft on my website, please leave a 📝 comment below and let me know how it went!
Follow me on Pinterest, Facebook, Flipboard, or Instagram for more inspiration on crafts, DIY, free printables, and recipes!


Donnie Lewis says
You say they are free to download but can we use them to resell say shirts and things on? Not the file, just want to print and use the file that way.
Stephy says
No, sorry. They are for personal use only.